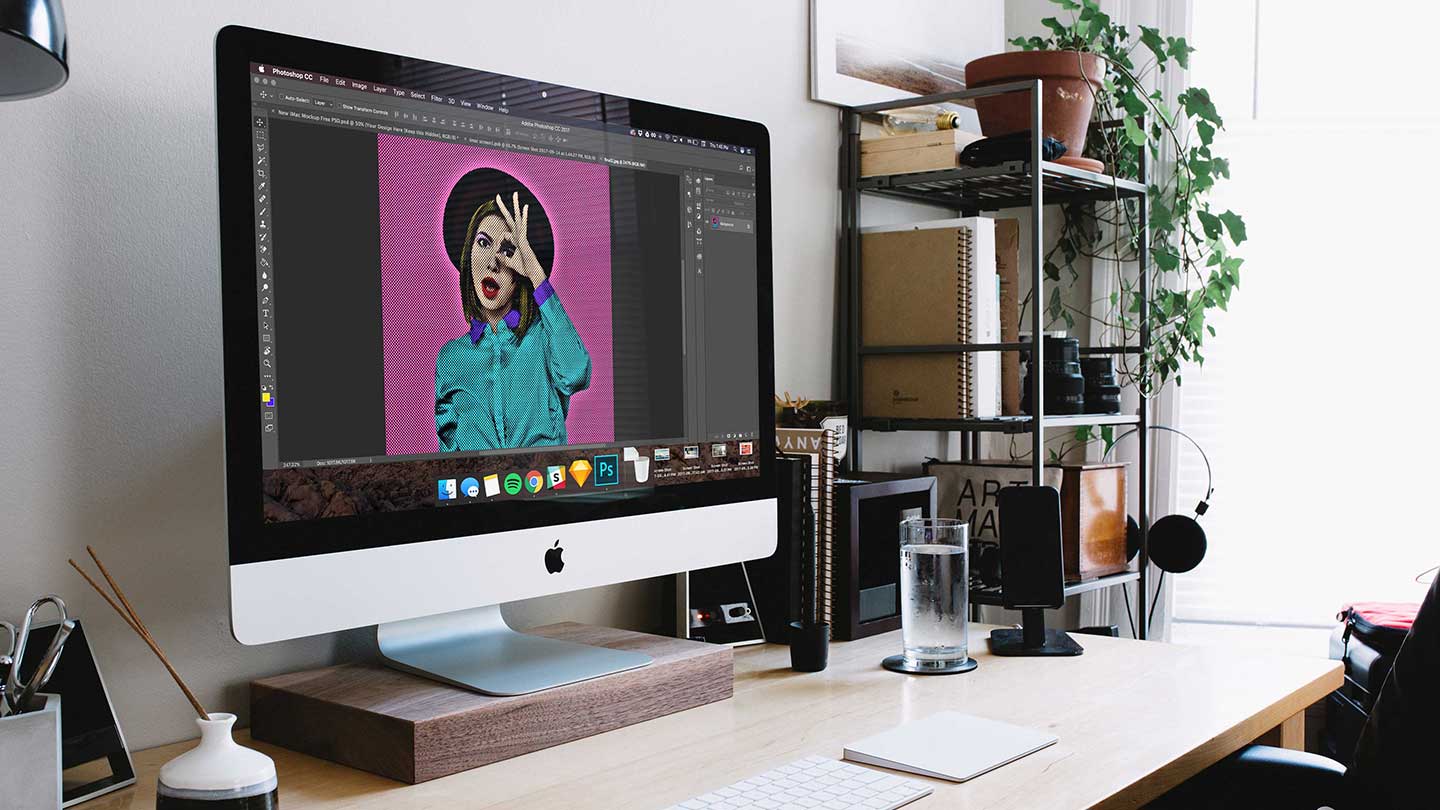
If you want to give your photos some extra “POW”—or channel your inner Andy Warhol—then pop art is the way to go. Pop art’s characteristic bold colors will make any photo stand out, which makes this technique especially great for stock images.
After mastering this tutorial, your next creative project is guaranteed to attract attention. Earn a reputation for dynamic, modern artwork, all while easily staying within budget. In just 10 steps, you can take a normal photo and turn it into a colorful 50’s inspired work of pop art in Photoshop. Let’s dive in!
How to make Pop Art in Photoshop from a stock image
1. Open the file in Photoshop
To get started, try working with a fun portrait photo. Select an image and open it in Photoshop via File > Open or Command/Ctrl + O.

2. Select and Mask your subject
First, click on the Quick Selection Tool. Then click the Select and Mask button.

In the new window, set the transparency to 50% so that you can still see the image underneath. Make sure that the View Mode is set to Onion Skin.
Now we are going to create a selection of the woman in the image. Click and drag the cursor over the woman to create a selection.
For small details or sections of your image, you’ll probably end up selecting small parts of the background, too. Don’t worry if you do—this isn’t a big deal for this tutorial.

Once you’ve finished selecting the woman, make sure that the Output is set to Layer Mask. Then click OK.
3. Add a new layer and set the background color
Now, add a new layer below the original, setting your foreground and background colors to black and white. With the new layer selected, hit Command/Ctrl + delete on your keyboard. This will set the background color to white.

4. Add a Black & White Adjustment Layer
Select the original layer (Layer 0) and add a Black and White Adjustment Layer.

5. Adjust Threshold
To give our image a true pop art look, we want to remove the details. From the top menu, go to Image > Adjustments > Threshold. Then, use the slider to choose the Threshold Level that removes the right amount of detail. We’ll be going with 136. Then select OK to apply the adjustment.

6. Convert to a Smart Object
Now, select all of the layers, right click on them, and select Convert to Smart Object. This will combine all your layers into a single layer.

7. Apply a Halftone Pattern filter
Open the Filter Gallery by going to Filter > Filter Gallery.

Select the Halftone Pattern filter under the Sketch folder.
Depending on what kind of look you want to create, you can experiment with different size numbers. For our image, we’ll set the size to 6. Make sure that the Pattern Type is set to Dot and the contrast is at 0. Once you’re happy with how your preview image is looking, click OK.

8. Sharpen your image
Go to Filter > Sharpen > Smart Sharpen.

Experiment with the sliders until you decide that the image has enough contrast. You want a lot of contrast to make the image pop.

Once you are satisfied with the overall contrast, click OK.
9. Set the Blending Mode
Select Linear Burn from the Blend Mode drop-down at the top of your Layers panel. This will allow us to paint underneath the black dots. Alternatively, you can right-click on your Layer, select Blending Options…, then change Blend Mode to Linear Burn inside the menu.

10. Add pop art color
Now for the fun part! Create a new layer underneath the current one, then select the foreground color and pick a new color.
Click on the bottom layer (the one that you just created), select the Paint Bucket Tool, and click on the canvas. If you don’t see the color appear in the background, you may need to hide your original layer to color your image in.

Click on the foreground color again and select your next color. Select the Paintbrush Tool and start painting over specific areas.
Now go wild with color and there you have it! You’re now a pop art master.

Find more stock images to experiment with on Storyblocks
Now that you’re a pop art Photoshop master, you can use this technique to turn any image into a retro masterpiece. Experiment with different techniques to find which ones work best for you. Ready to learn how to do even more in Photoshop? Check out our tutorials on how to wrap an image on an object or how to create a GIF in Photoshop.
To get access to unlimited stock images, footage, music, and more, sign up for a Storyblocks subscription. With our affordable plans, you’ll be able to easily bring all of your creative ideas to life and share them online without worrying about copyright issues. Explore our plans and start downloading today!
Editor’s Note: This post has been updated with additional information. It was originally published on July 6, 2017.


