Warping items in Photoshop allows you to wrap an image or text around an object without making the image look distorted. There are two ways that you can warp an image. First, you can use a shape in the warp style menu. Second, you can change the path of individual control points on an image. Artists frequently use shapes first, then fine-tune the wrap by changing the path of individual points.
Let’s pretend you have this watercolor and ink pumpkin vector design.
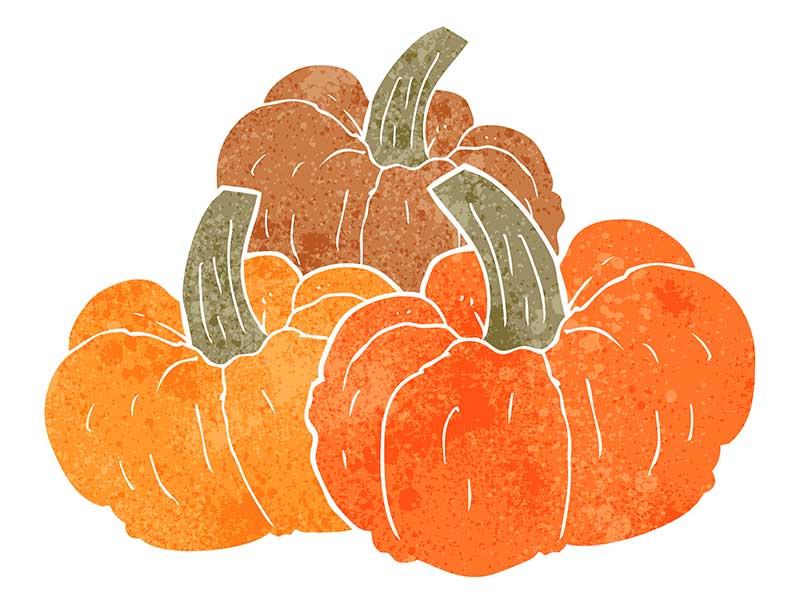
With the changing fall leaves and temperatures dropping, pumpkin spice season has arrived and you can’t wait to celebrate it with your custom pumpkin latte mug. But before sending the design off to be created, you want to make sure that the image will look good. Luckily, warping an image around a mug is pretty simple, and can be done in four steps.
Step 1: Upload Your Images to Photoshop
Download a photo of a plain mug, and pull it into Photoshop. Next, pull the image you want to wrap around the mug into photoshop and resize that layer on to the right size for your mug.
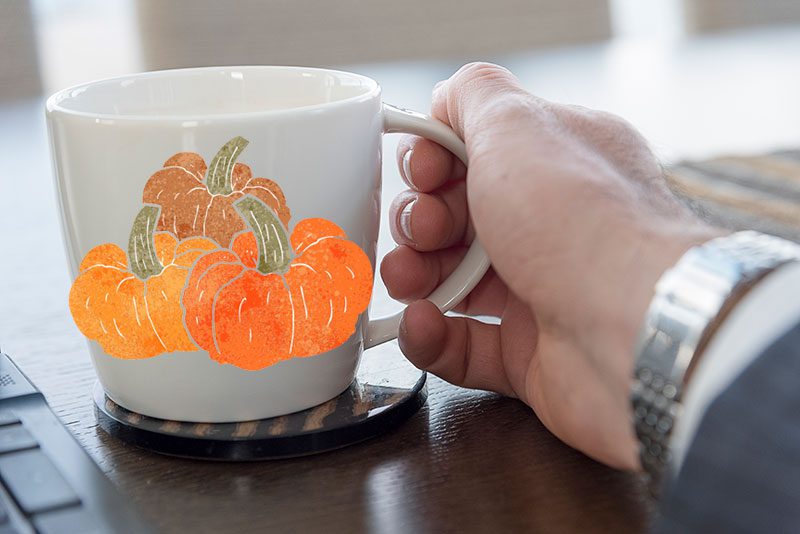
Step 2: Find the Warp Transformation
Select the layer with the photo you want to warp, then go to the top navigation bar to choose Edit > Transform > Warp.
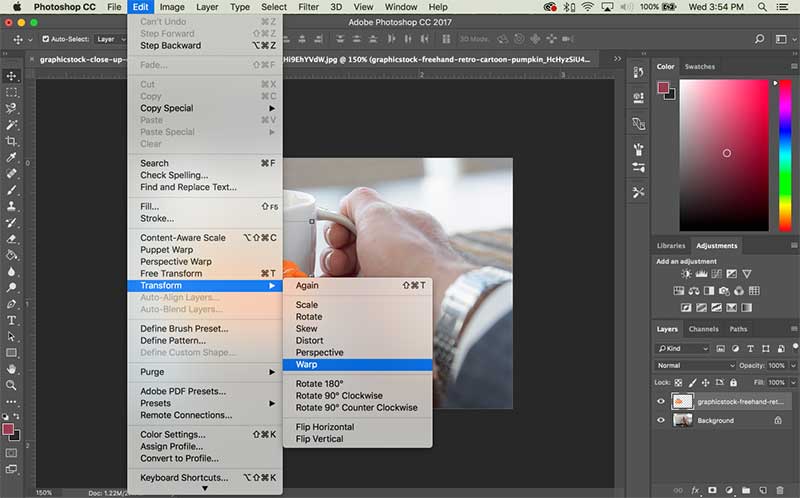
Step 3: Choose a Shape in Warp-Styles
Choose the shape from the drop down menu at the top to find the shape that most resembles the right shape for your photo.
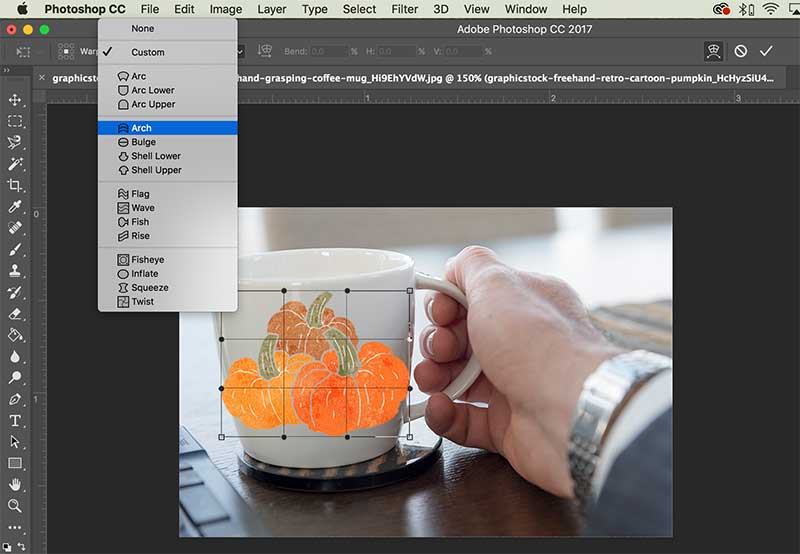
Step 4: Use Custom Warping to Finetune Your Design
Save those changes to your top layer, then determine how much warping is left. From here you can go into the Edit > Transform > Warp again, then move the rest of the points in custom mode to make everything perfect.
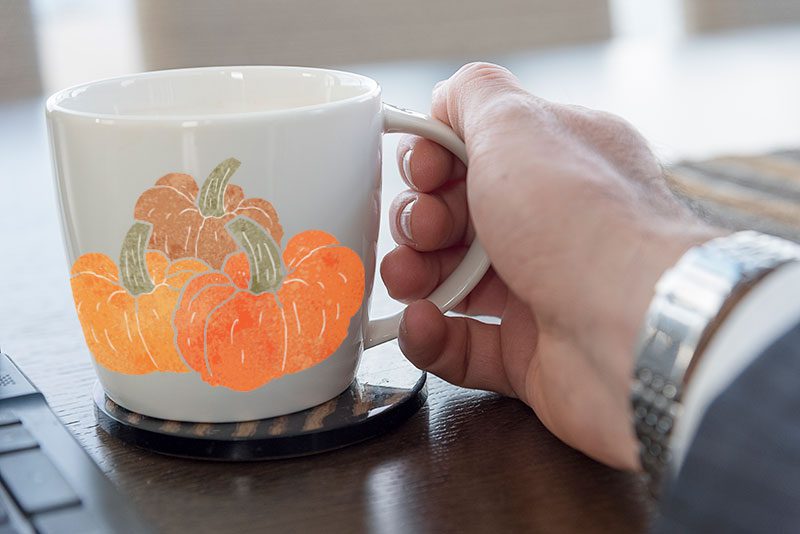
You might not get it right on your first try, but practice makes perfect. Browse our stock image library to search for images to practice with. And if you want to start with an illustrated pumpkin vector, you can find one here.


