If you’re learning or just getting started with learning how to edit in Premiere Pro, adjustment layers are an essential tool to know how to use. Whether you’re adjusting colors, tweaking contrast, or adding effects, adjustment layers save you a ton of time and effort by streamlining the process. In this post, we’ll go over what adjustment layers are, how to add an adjustment layer in Premiere, and different ways that you can use them. You can follow along with the post, or watch our video tutorial below. Let’s get started!
What is an adjustment layer?
An adjustment layer preserves your original clips and lets you apply changes or effects to multiple clips at the same time. Unlike normal layers, which only apply to a single clip at a time. Your adjustment layer works as a transparent overlay above all of your regular layers within your timeline, and any changes or effects you add to it are applied uniformly to all of your clips. With them, you have way more flexibility and opportunity to experiment with your editing process.
How to add an adjustment layer in Premiere Pro
Adding an adjustment layer is simple, and just takes three steps.
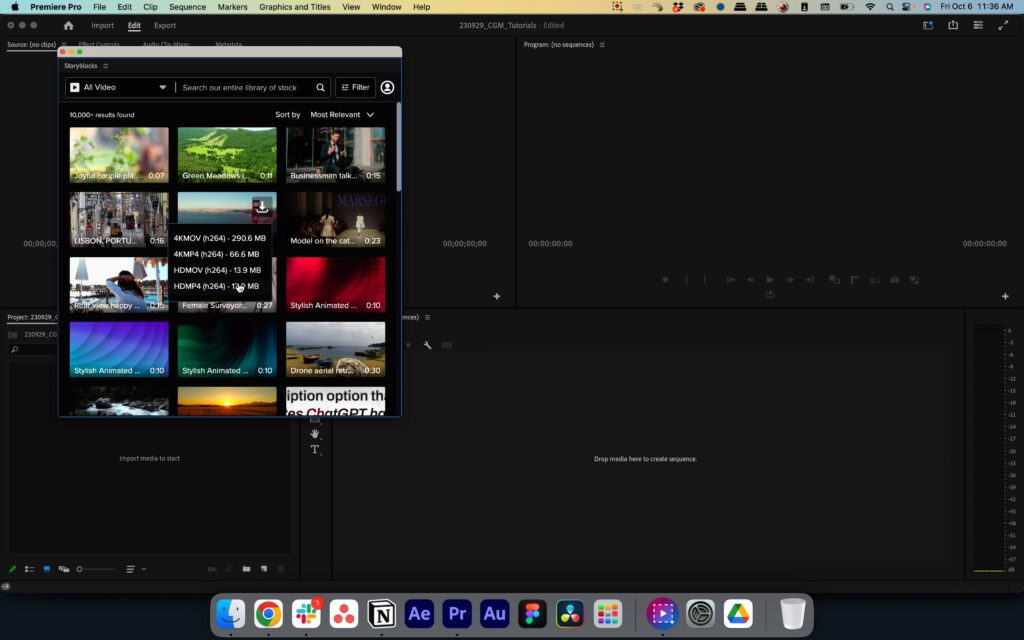
1. Navigate to the project window
First, locate your project window. If you don’t see it, go to Window > Projects in the top navigation to pull it up. You should also be sure to import and include any video clips you want to use your adjustment layer on. If you have our Adobe plugin, you can easily browse and download clips from our library right in Premiere.
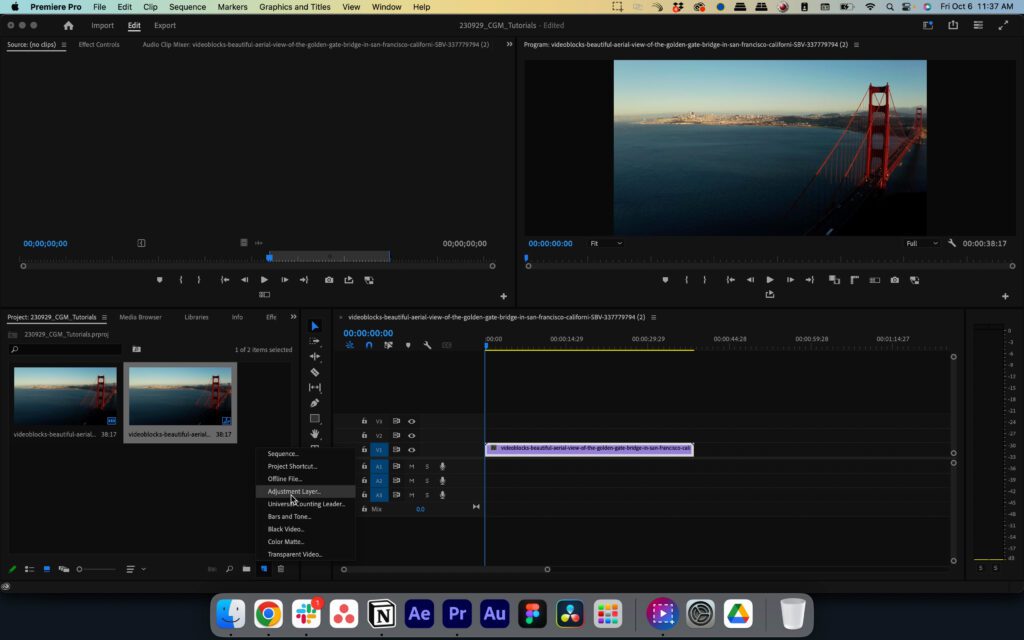
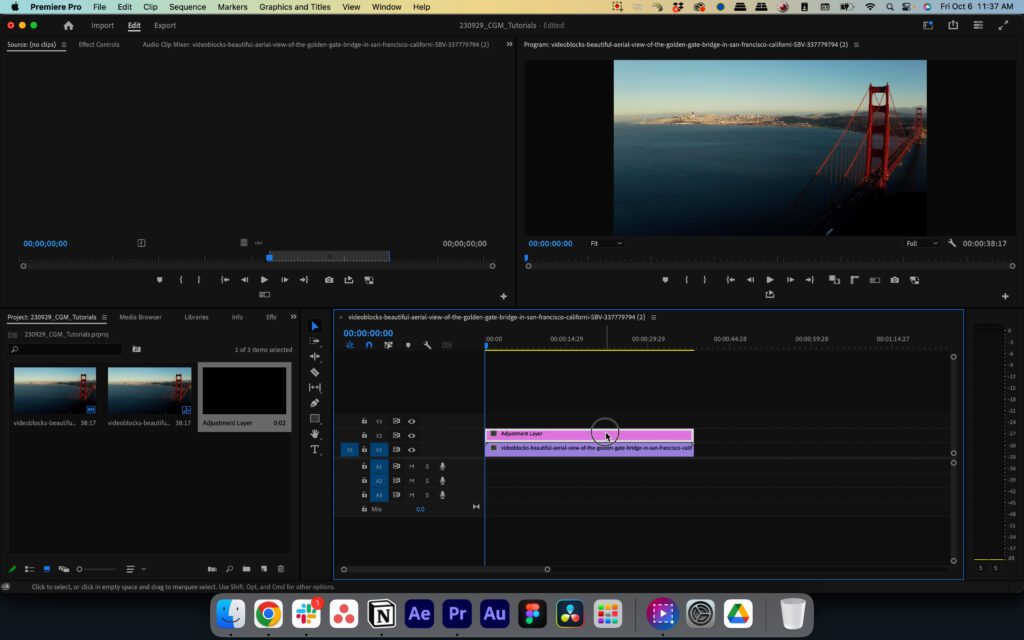
2. Select Adjustment Layer
Find the New Item icon in the bottom right of the window, then select Adjustment Layer.
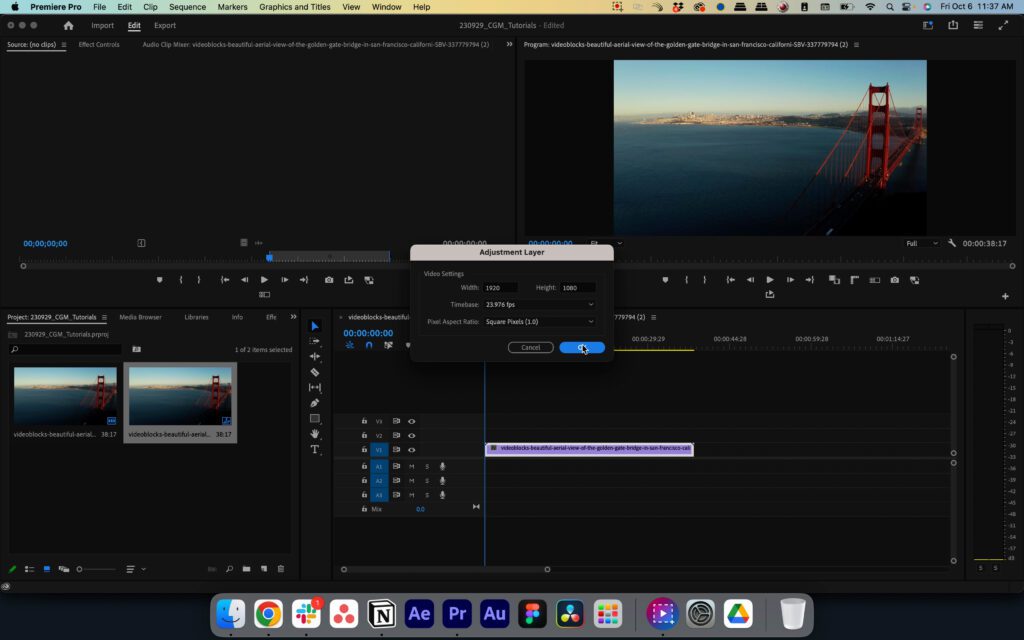
3. Confirm resolution
Finally, a window will pop up showing the resolution of your new adjustment layer. By default, Premiere will set it to match your timeline. To confirm and apply your adjustment layer, click OK, and it’s ready to use!
Using adjustment layers
There’s a ton of ways you can use adjustment layers for your projects in Premiere. Making changes to the color of your clips is one, including color correction, saturation tweaks, or tonal enhancements. This is especially handy if you want to give your video a cohesive look and feel all the way through without altering the originals or having to add changes to individual clips. Adjustment layers also support blend modes, which opens up even more creative possibilities.
The other main use is adding effects. You can add a singular effect to all of your clips, or even use multiple adjustment layers to stack effects on top of one another for more intricate edits. Adding effects like a Gaussian Blur will create a dreamy look, while a glitch effect will add visual interest and grab your viewers’ attention. You can also create custom transitions by adding effects to your adjustment layer, then animating it with keyframes.
If you want to only make changes or add effects to a specific area of your clips, you can move and position your adjustment layers to only cover certain parts. Or for more precise editing, you can add a mask to your adjustment layer so any changes you make only apply to specific parts of your frame.
Editing tip: If you add effects on multiple adjustment layers, you may slow down your project’s playback. If you experience lag with using multiple effects, try prerendering or using proxies.
Learn how to do even more in Premiere
Now that you’re an expert in adjustment layers, try adding them to your next project and get creative. Experiment with different changes and effects to understand how they work. Remember that adjustment layers aren’t just for fun edits or effects – the changes you add can enhance the story and emotional impact of your videos. Try adding things like a Ken Burns effect or a Motion Blur effect to get more comfortable creating in Premiere Pro. Once you learn the ins and outs of Premiere, you’ll be able to edit even more efficiently.
You can also find tons of templates in Storyblocks’ library that let you easily add advanced effects to your projects in Premiere Pro. You can completely customize templates to match your own style or brand – try one out today!

