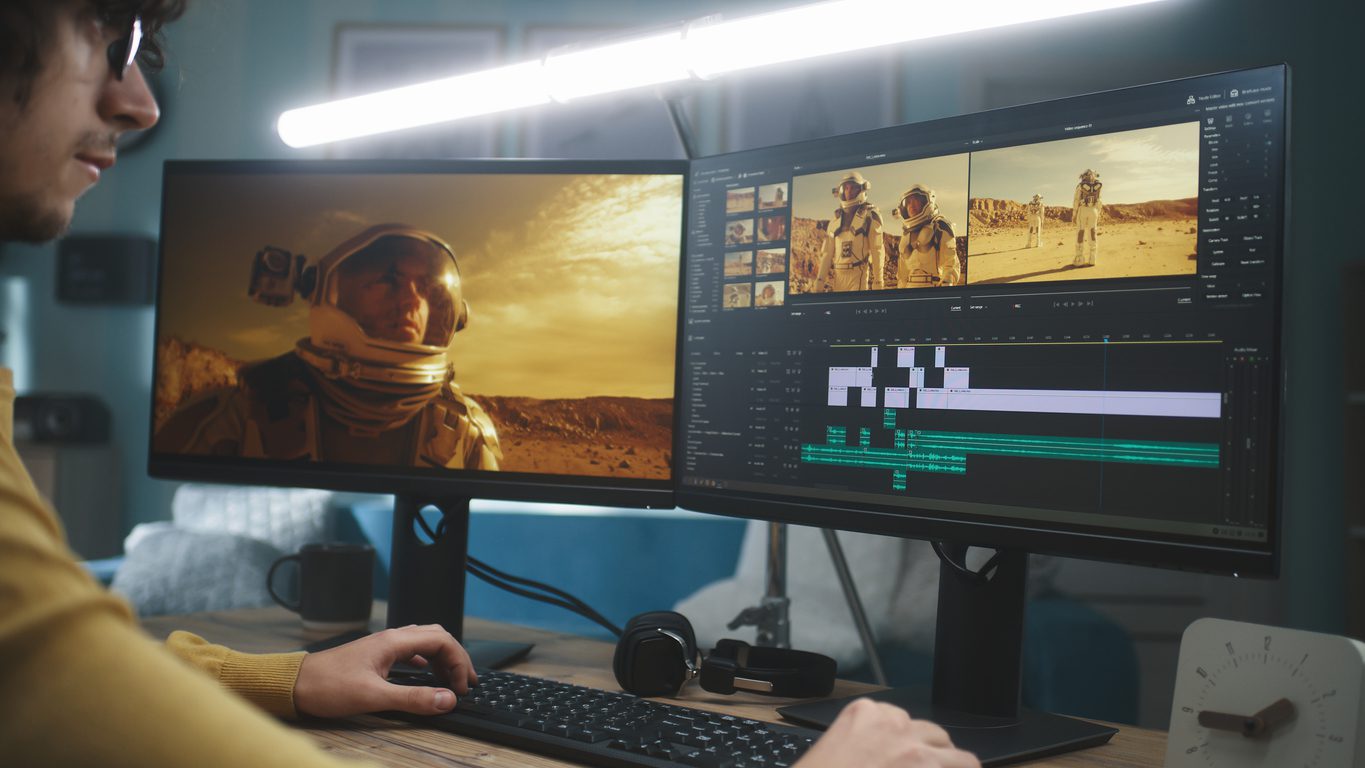
Tips on using Adobe Premiere Pro are increasingly being sought after at the moment—especially since Premiere Pro is among the best video editors, used by professionals to edit everything from YouTube and Instagram videos to blockbuster movies. However, using this application can be challenging in the beginning, given that not all of its features are immediately apparent. This post will walk you through how to use Adobe Premiere Pro so that you can edit like a pro and create better videos. Let’s get started.
What is the Best Way to Learn Adobe Premiere Pro?
A great place to start learning how to use Adobe Premiere Pro is from the creators of the software themselves. Adobe avails numerous video tutorials on their website for both beginners and seasoned users of the application. The tutorials cover a wide range of aspects of the application, including how to switch to Premiere Pro from other applications, how to import media, how to add animations, effects & transitions, how to work with graphics & titles, and so on. Adobe’s website has easily navigable columns that divide beginner and intermediate learning materials and offers an excellent, all-rounded introduction to the editing application. You can also find other tutorials on Adobe’s YouTube page.
Getting Started With Premiere Pro
Editing is one of the essential components of filmmaking. It gives your stories life–without it, your stories won’t be as effective. Adobe Premiere Pro can help enhance your video editing. There are also a variety of Premiere Pro plugins you can use to help. That said, to make the most of this software, here are the three things you need to be conversant with:
Overview of the User Interface
Adobe Premiere Pro’s user interface is pretty straightforward. The whole interface configuration is known as a workspace; the software has five pre-built workspaces that accommodate various work styles and tasks you need to perform. With Premiere Pro, you’ll undertake most of the editing tasks in the various panels on the application’s interface. The panels enable you to import and organize media and preview your audio and video footage. Most of the video editing is carried out on the Timeline, which is also one of the panels.
Overview of Settings
The project settings determine what your audio and video project’s properties are. For instance, they determine the format, source, aspect ratio, time frame, and bit depth, among other aspects of your project. When you begin a new project, Adobe Premiere components apply a project preset to it. Since you can’t alter the project preset after starting a project, you should confirm the source of your footage before choosing a project preset.
Get Templates
How to Create a Project
Upon launching the Premiere Pro, begin by creating a New Project. When the New Project Window Appears, you will need to specify the name and location of your project. You can do this by naming your project and browsing the project folder that you created in the previous step. In the Scratch Disks tab, you will set all the options to Same as Project. The storage locations are utilized for captured media, project autosaves, and rendered previews. Whenever possible, you should use an extra hard drive solely for scratch disk purposes. Doing this will load off your main hard drive and enhance your editing, export, and render speeds.
How to Import Media Into Premiere Pro
Premiere Pro allows you to incorporate media into the projects you are working on. It provides numerous tools for importing different types of media. Here’s a look at how to import various media types:
How to Import Video Files
You can import video files using different methods:
- Double-clicking in the project window: Upon opening Premiere Pro, navigate to the Project Window, then double click anywhere in this box to open a window that allows you to locate the files you want to import. Select the file and click import.
- Using the drop-down import menu from the File tab: On the top bar of your Premiere, select File. Next, choose Import to open a browser window that allows you to choose the video files you want to import. Select the files and then click Import to add the videos to your project.
How to Import Audio Files
Once you’ve opened Premiere Pro, choose File>Import from the main menu. Find and select the audio file, then click open. The file will be added to the Project Window immediately.

Creating Timelines and Sequences in Premiere Pro
How to Create a Timeline in Premiere Pro
You can create a timeline by undertaking one of the following actions:
- Select File> New> Timeline. A blank timeline will be created. You can add assets to this timeline.
- Navigate to the bottom of the Project panel and click Create a New Item button. Afterward, choose the Timeline from the pop-up menu.
Syncing Audio to the Timeline
To synchronize the audio in the Timeline panel, you should first edit the audio into the Timeline panel, then do the following:
- Align the audio clips manually by dragging them into place until they become synchronized.
- Align the audio clips using the synchronize feature. To do that, choose the clips you want to synchronize and select the audio clip> Synchronize.
How to Edit Videos in Premiere Pro
Here are some of the ways you can edit videos in Premiere Pro:
- Edit With Proxies: This technique saves a lot of time and enables you to work on smaller videos that take longer to render and don’t cause your computer to lag.
- Multi-Camera Editing: You can synchronize several camera angles using the multi-camera editing by putting all files into a new folder in your project panel, right-clicking the folder, and finally choosing the “create multi-camera source sequence.”
- Automated Sequence Auditing: This technique allows you to edit videos that require you to move a lot of B-roll down into the timeline.
- Tracking and Rotoscoping Masks: This technique comes in handy in scenarios where you need to blur license plates or faces.
How to Add Titles, Transitions, and Effects in Adobe Premiere Pro
To add a title, all you need to do is navigate to File at the top left-hand side of the screen. When you click on File, a drop-down menu with an option called ‘Legacy Title’ will appear. Clicking on it will open a new pop called ‘New Title’. Rename the Title to something more suitable, then click ‘OK.’ To add effects, go to your Timeline and right-click the FX button. Three options will appear; opacity, motion, and time remapping. These options have different effects. Transitions are also essential to your video. There are several transitions you can add, including a page reel, and a wipe, among others.
How to Export Your Video in Premiere Pro
To export video in Premiere Pro, click File> Export> Media. Alternatively, you could press Cmd + M on Mac or Ctrl + M on PC. Ensure that the sequence you wish to export is selected when doing this. It will open your Export Settings window. Select your desired settings on this window for the video before sending it to Media Encoder to be exported.
More tutorials for Adobe Premiere Pro
Looking to learn how to do even more in Premiere Pro? Explore our blog to find video tutorials on how to crop video, add a Ken Burns effect, create a glitch effect, and so much more.
Utilize Storyblocks Templates for Easy Video Content Creation
Whether you’re new in video production or a seasoned producer, Storyblocks can help breathe life into your stories. Our unlimited subscription allows you to download as many stock video clips as you need. We also provide excellent video editing tools. Sign up today to start downloading Adobe Premiere Pro Templates, Adobe After Effects Templates, and Adobe Motion Templates among other solutions.


