
Getting the perfect footage sometimes requires a bit of cropping to get the right fit. Whether you’re looking to center your subject in a shot or cut out distractions in the background, it’s an essential function to know. Thankfully, all it takes is five simple steps. Just keep reading to follow our quick and easy guide for how to crop video in Premiere Pro, or watch the tutorial video below.
Looking to specifically do a vertical crop to your video? We’ve got you covered.
How to crop video in Premiere Pro in five steps
Step 1: Add clips to your project
To start, you’ll want to add footage or video clips to your project. Selecting clips to add to your project is simple if you have a plugin for Premiere Pro like the Storyblocks plugin for Adobe Creative Cloud. With our plugin, you can search our entire library of millions of royalty free video right from your editor and save yourself valuable time.

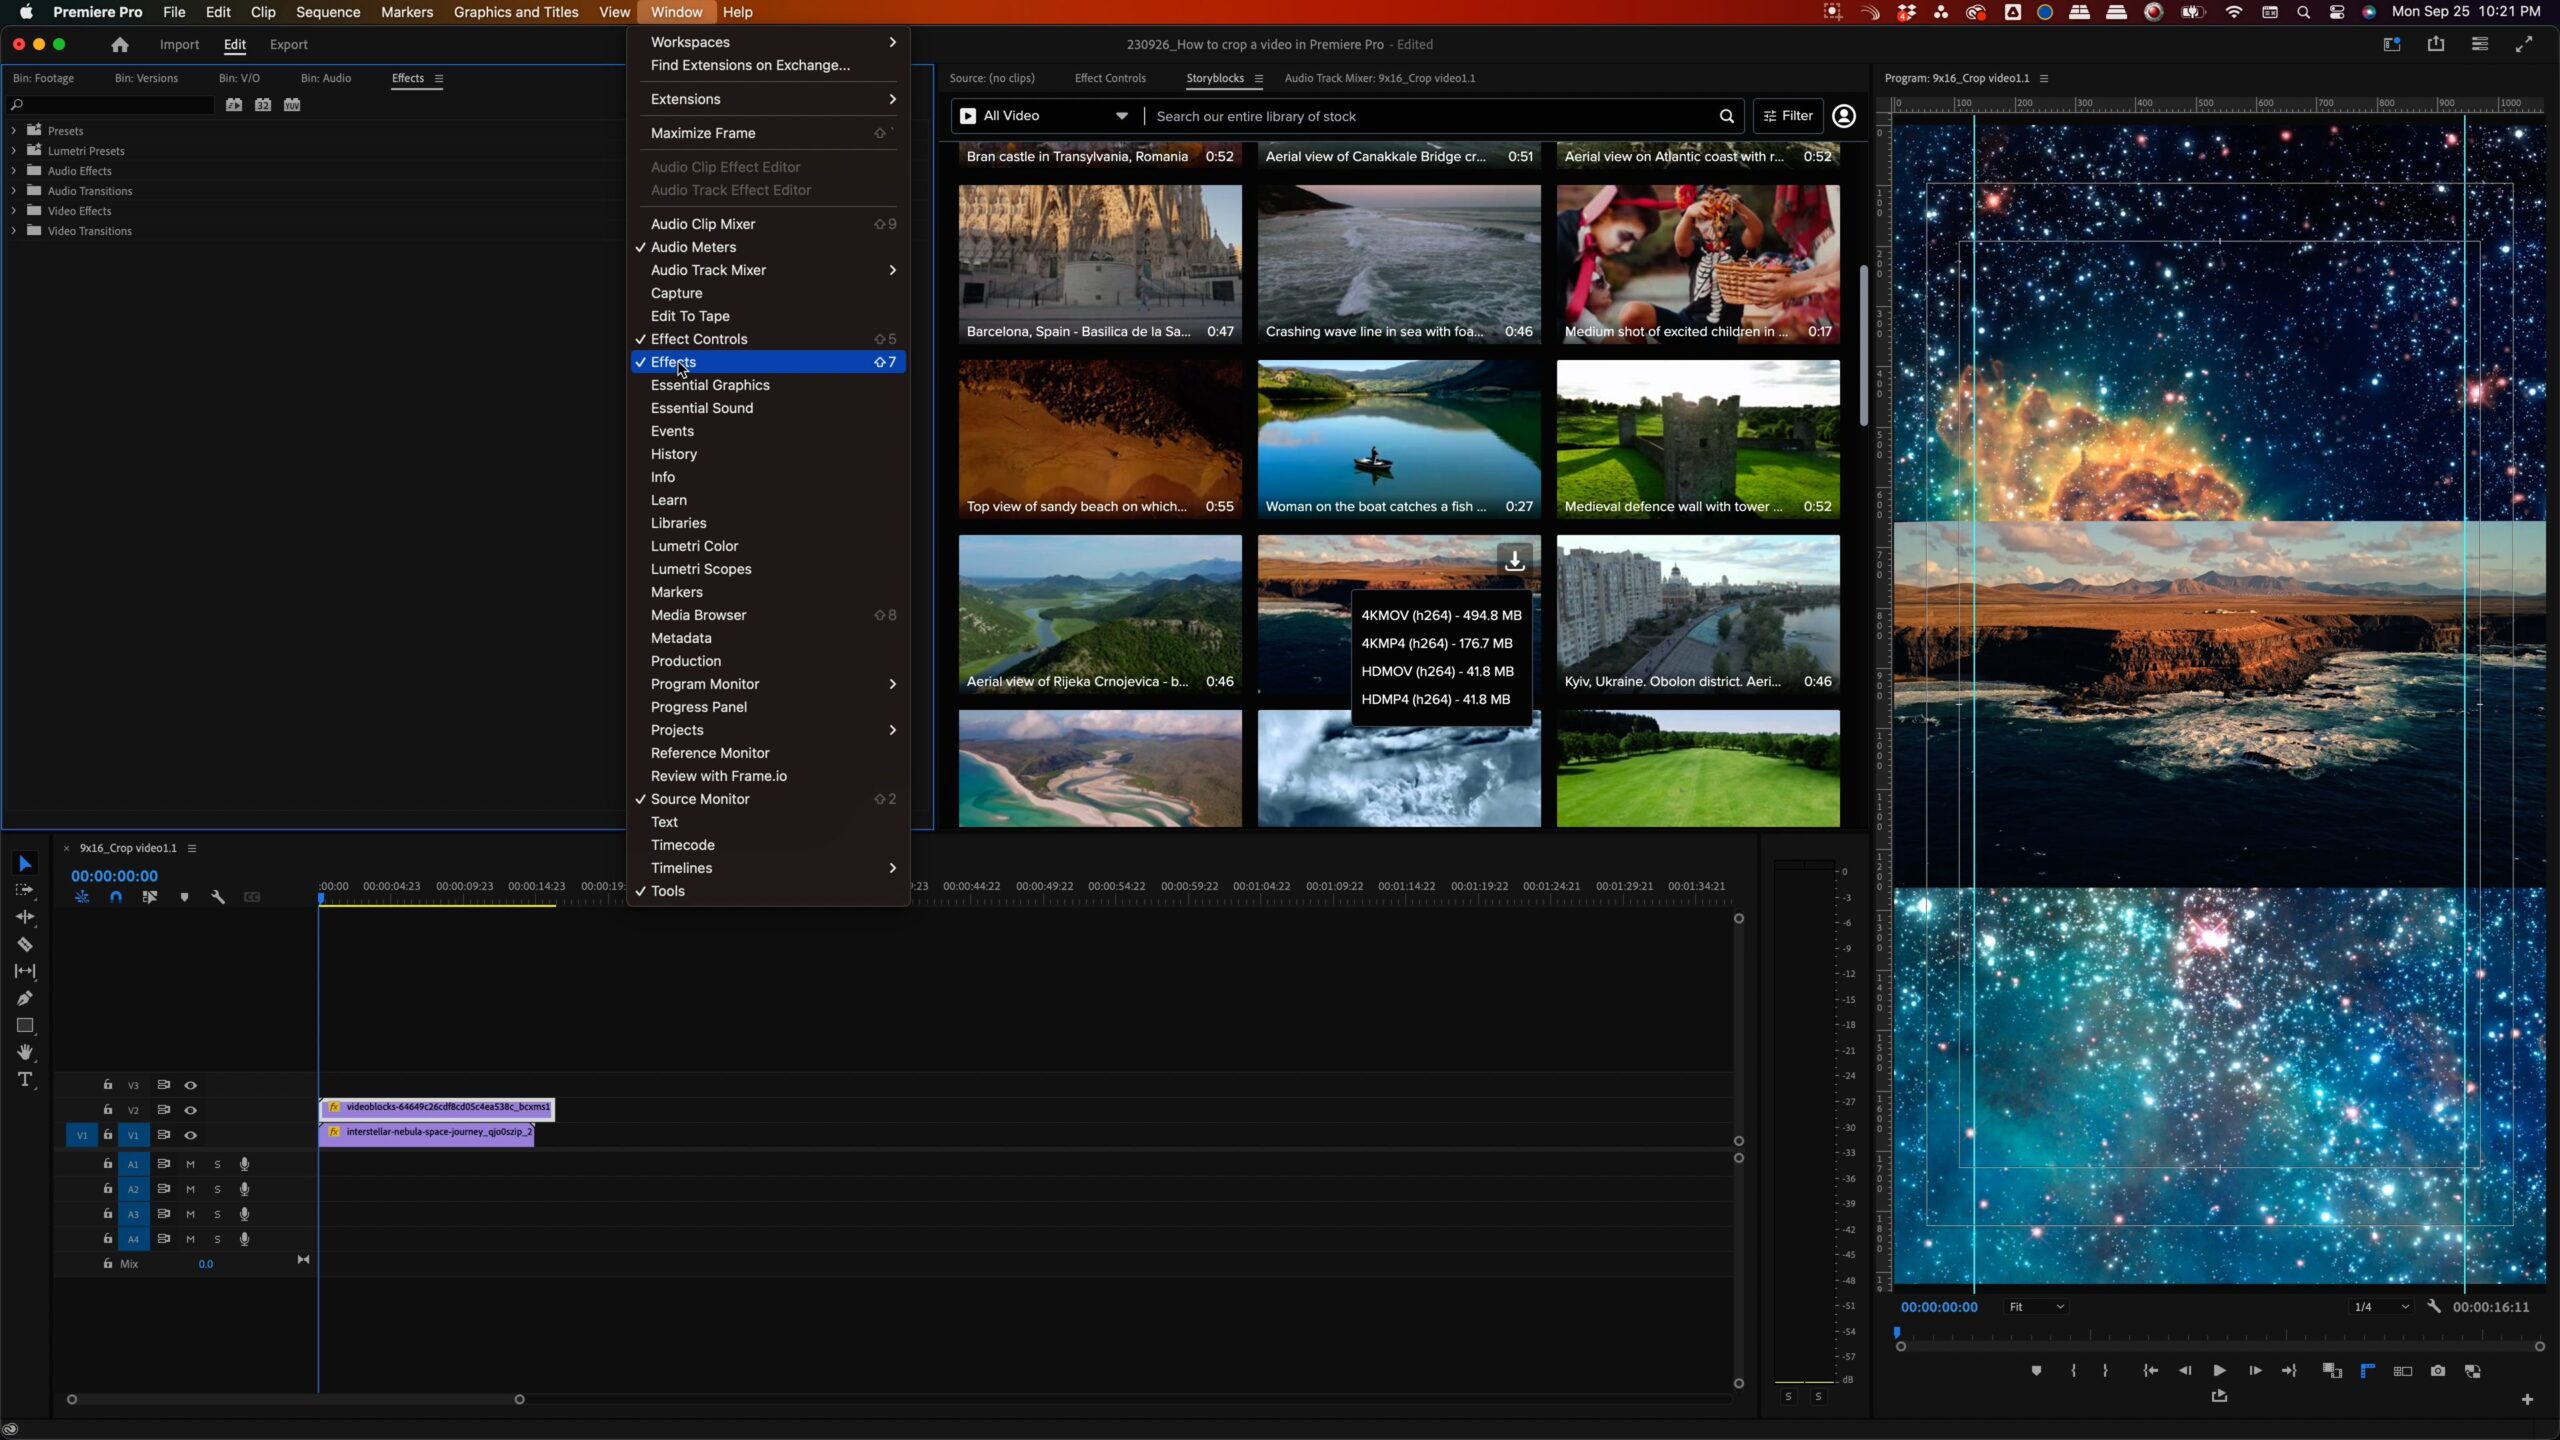
Step 2: Access the effects window
Once you add your footage to your video timeline, navigate to the effects window. If you don’t see it, look for the “Window” drop-down in the navigation and select “Effects” to display it.
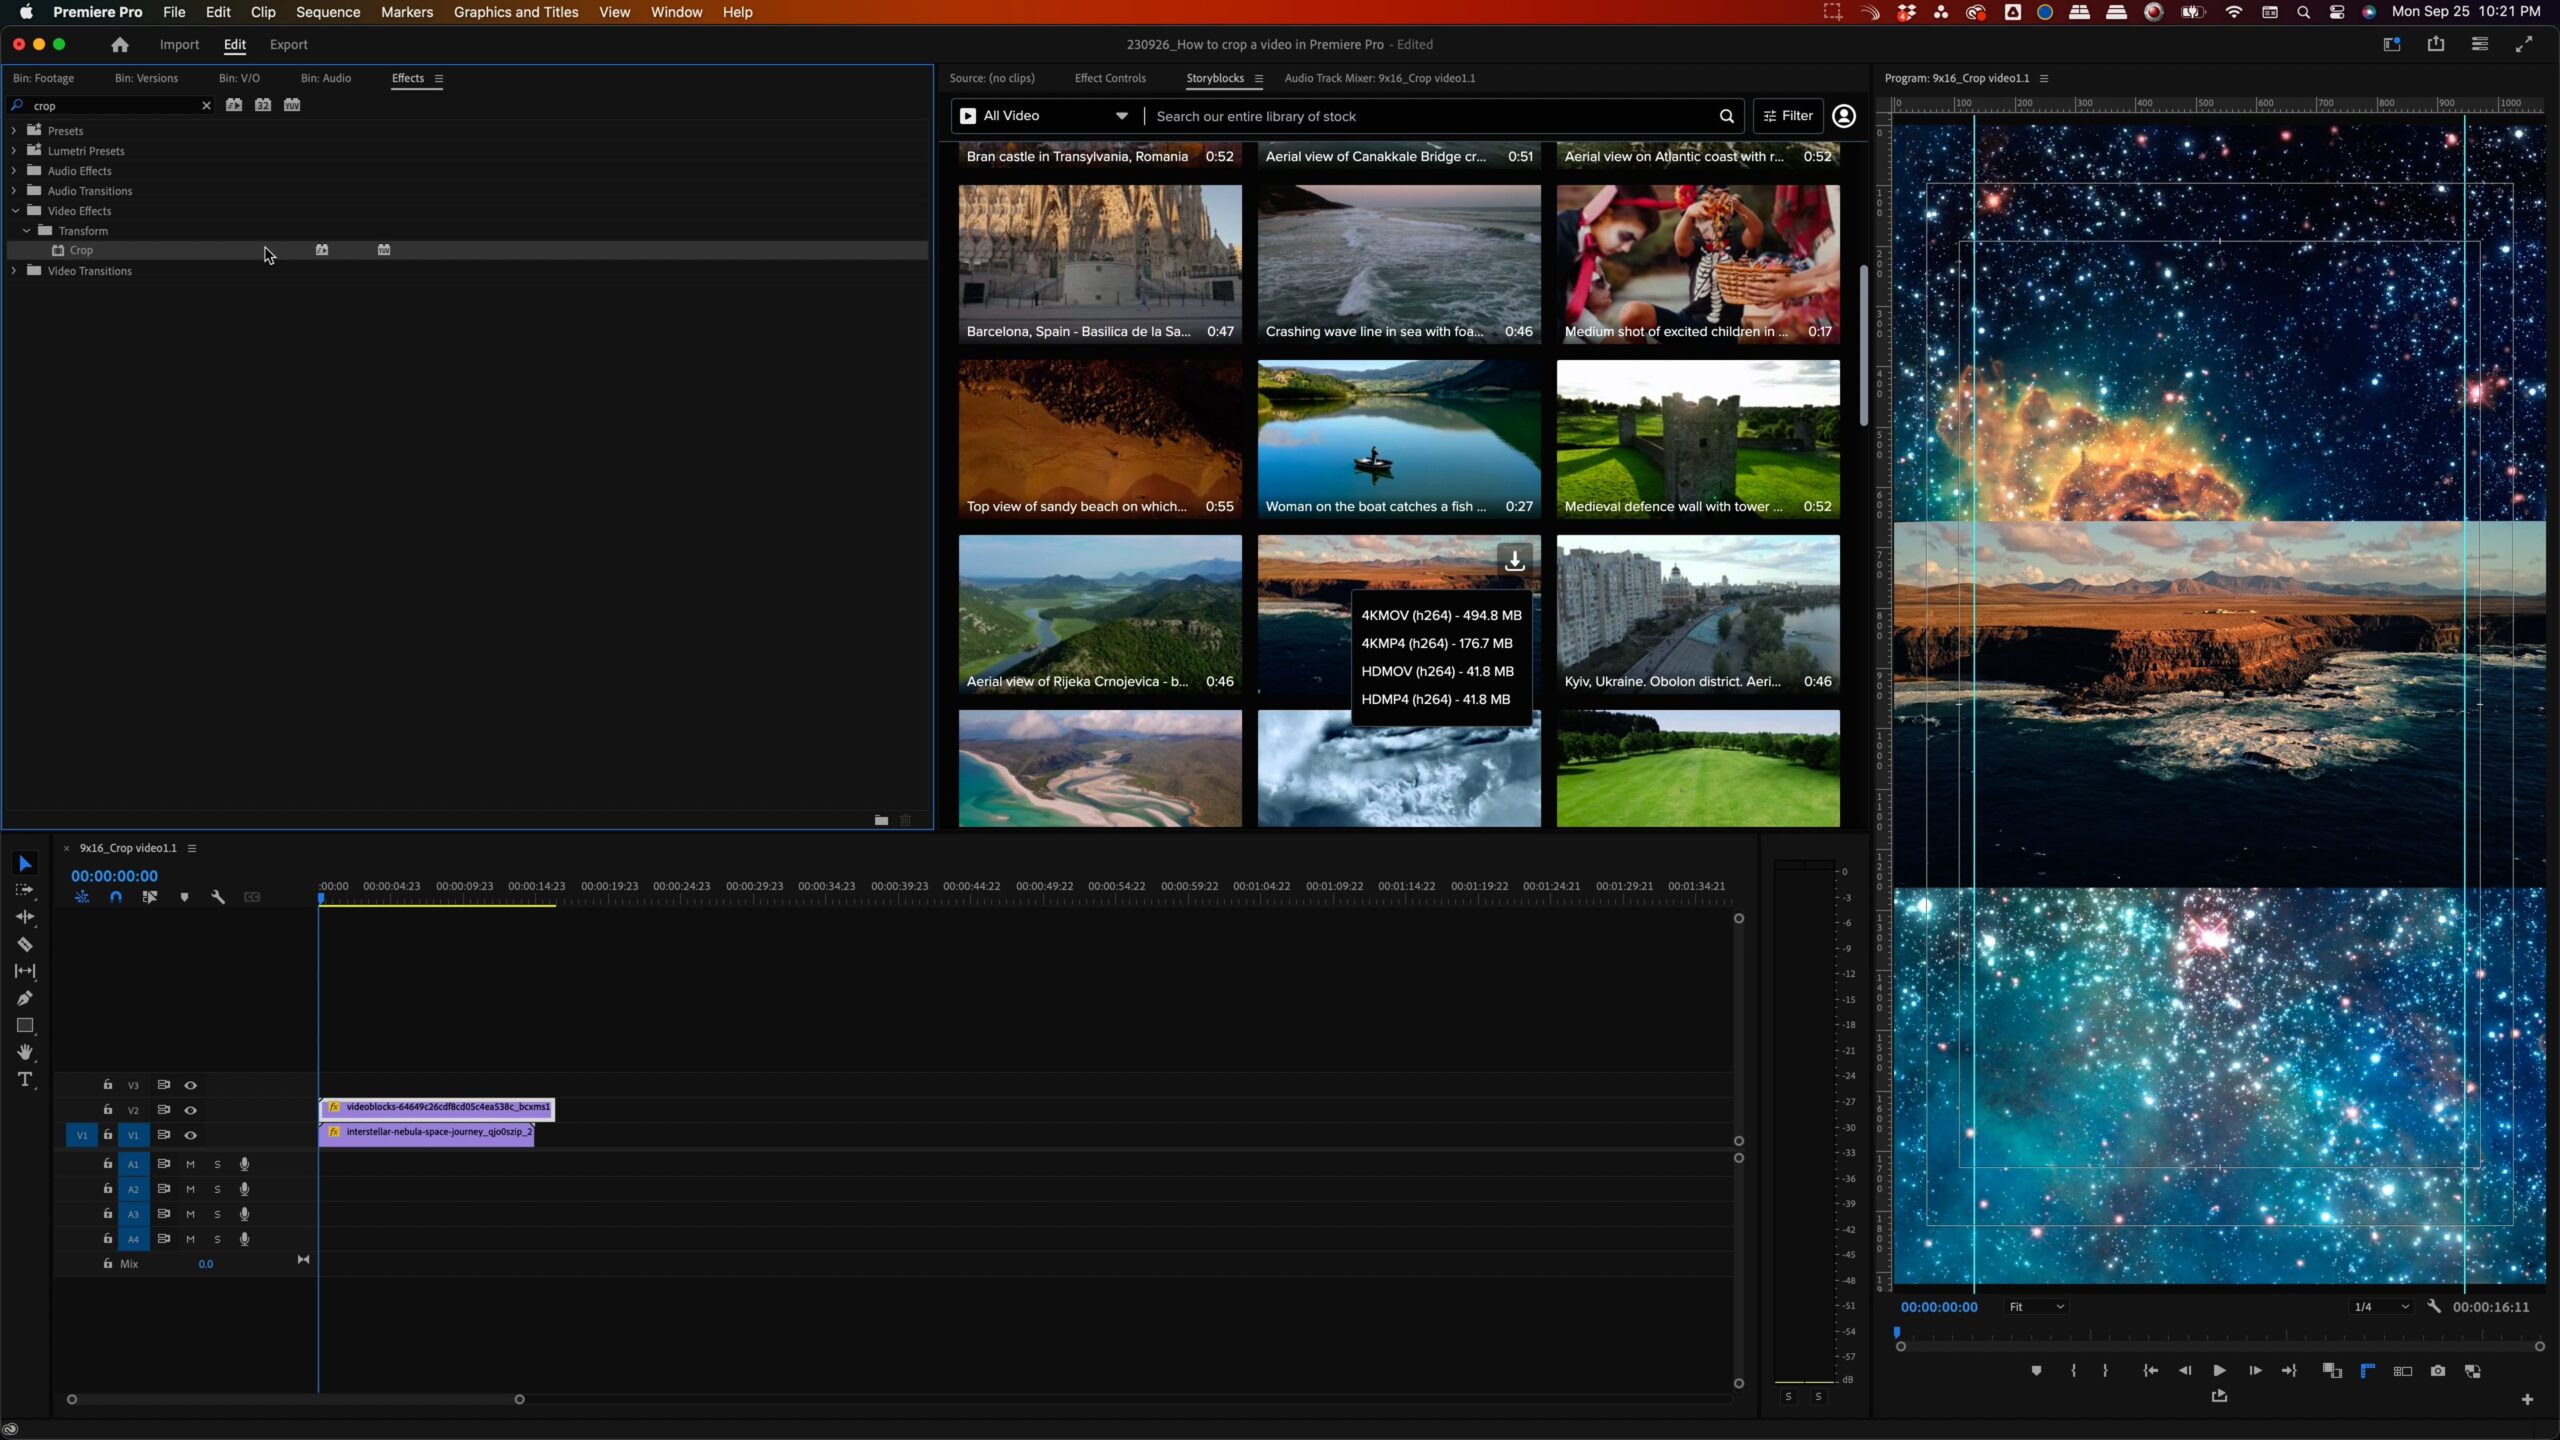
Step 3: Apply the crop effect
We’ve arrived at the big moment of learning how to crop video in Premiere Pro. Enter “crop” into the search bar in the effects window. Find the crop effect, select it, and drag it onto the clip you want to have cropped.
Step 4: Navigate to effects controls
After choosing your video clip, navigate to the effects controls panel. Can’t locate it? Just select the Window drop-down in the navigation and click on Effects Controls.
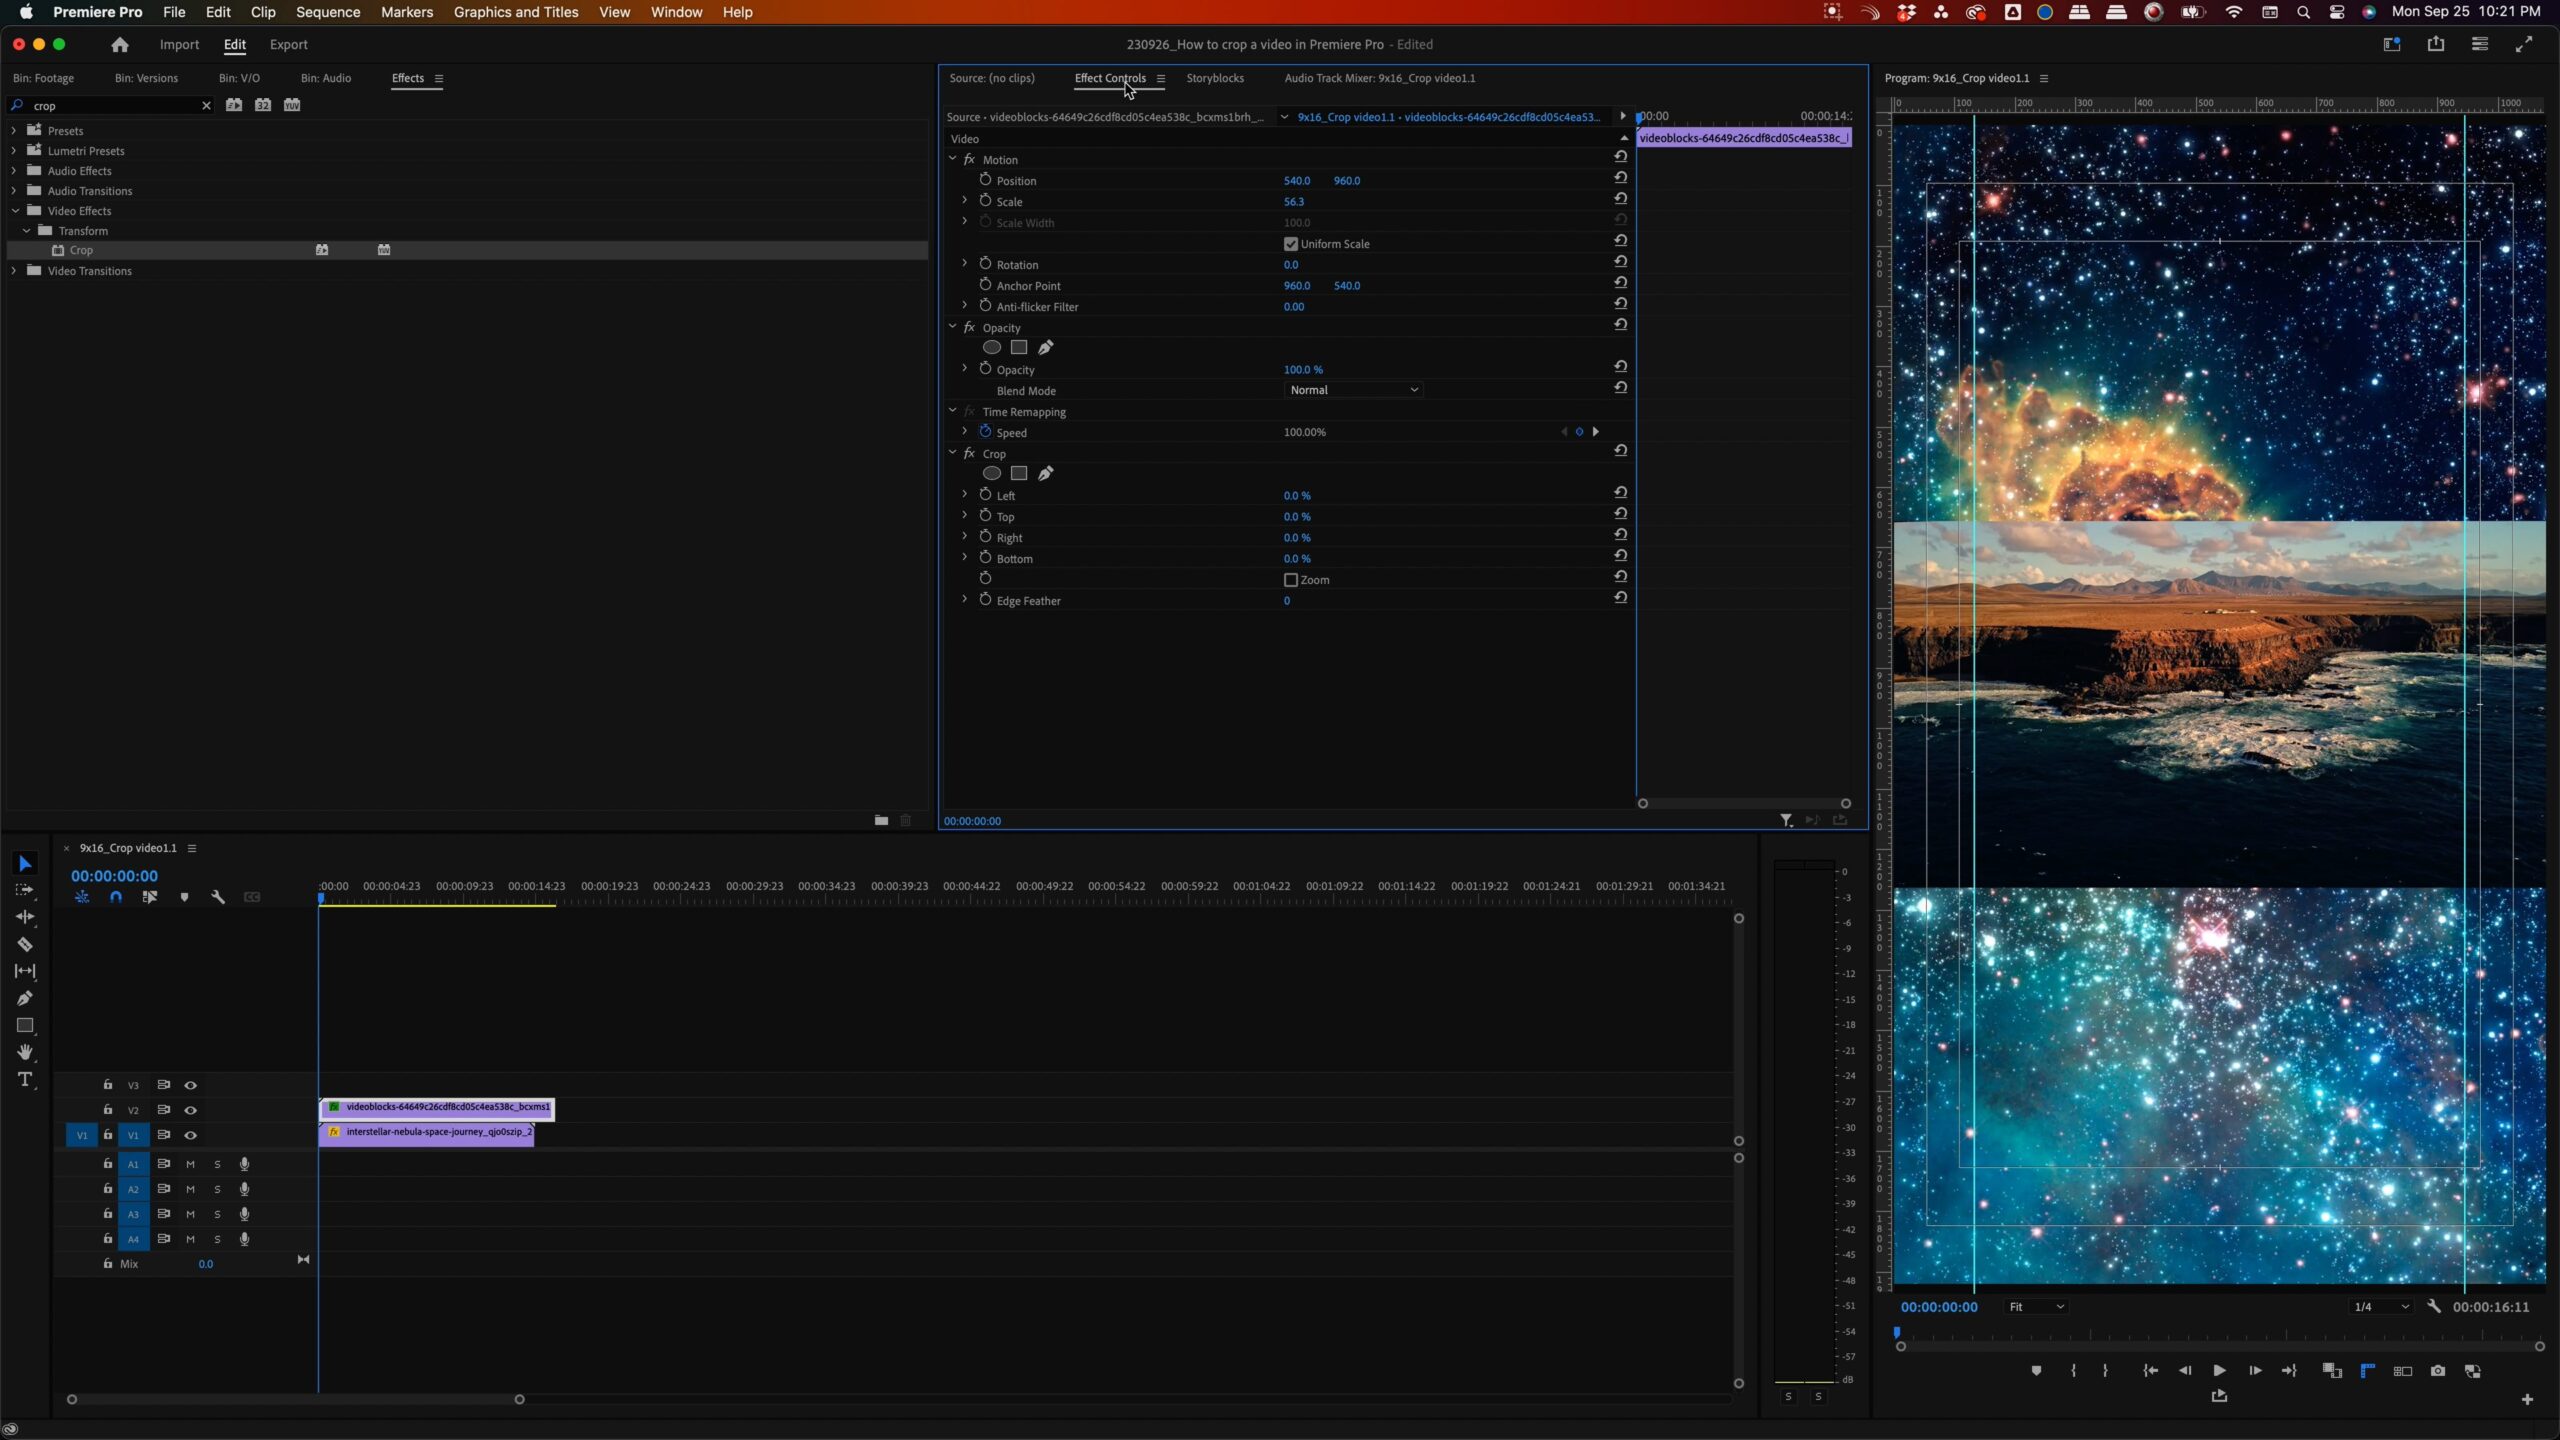
Step 5: Fine-tuning your crop
In the effects control panel, you’ll find different options and parameters for perfecting your crop area. This panel is where all the magic happens and you can get as picky as you want with how to crop your video in Premiere. Adjust these settings until your crop looks exactly right.

Pro tip: To make smaller, more precise adjustments, hold the Command (Mac) or Ctrl (Windows) key while you adjust your dimensions. To make larger changes, hold down Shift. If you’re new to learning keyboard shortcuts in Premiere Pro, we’ve got a whole guide for you to learn from.
Explore the creative possibilities beyond learning how to crop in Premiere Pro
Cropping isn’t just limited to basic adjustments. It’s a powerful tool that lends itself to all sorts of video projects from collages to unique video compositions. If you’re looking for more footage to experiment with or add to your projects, consider exploring Storyblocks’ extensive library of stock video. It’s got millions of royalty free stock footage, templates, music, images, and sound effects for any creative ideas you might have.

