
With a powerful video editor like Adobe Premiere Pro, there’s tons of dynamic effects that you can add to make your footage stand out. In this tutorial, we’ll walk you through how to zoom in on Premiere Pro in just six quick steps. With this effect, you’ll be able to add drama and motion to any of your videos easily.
How to zoom in on Premiere Pro
Step 1: Import your clip
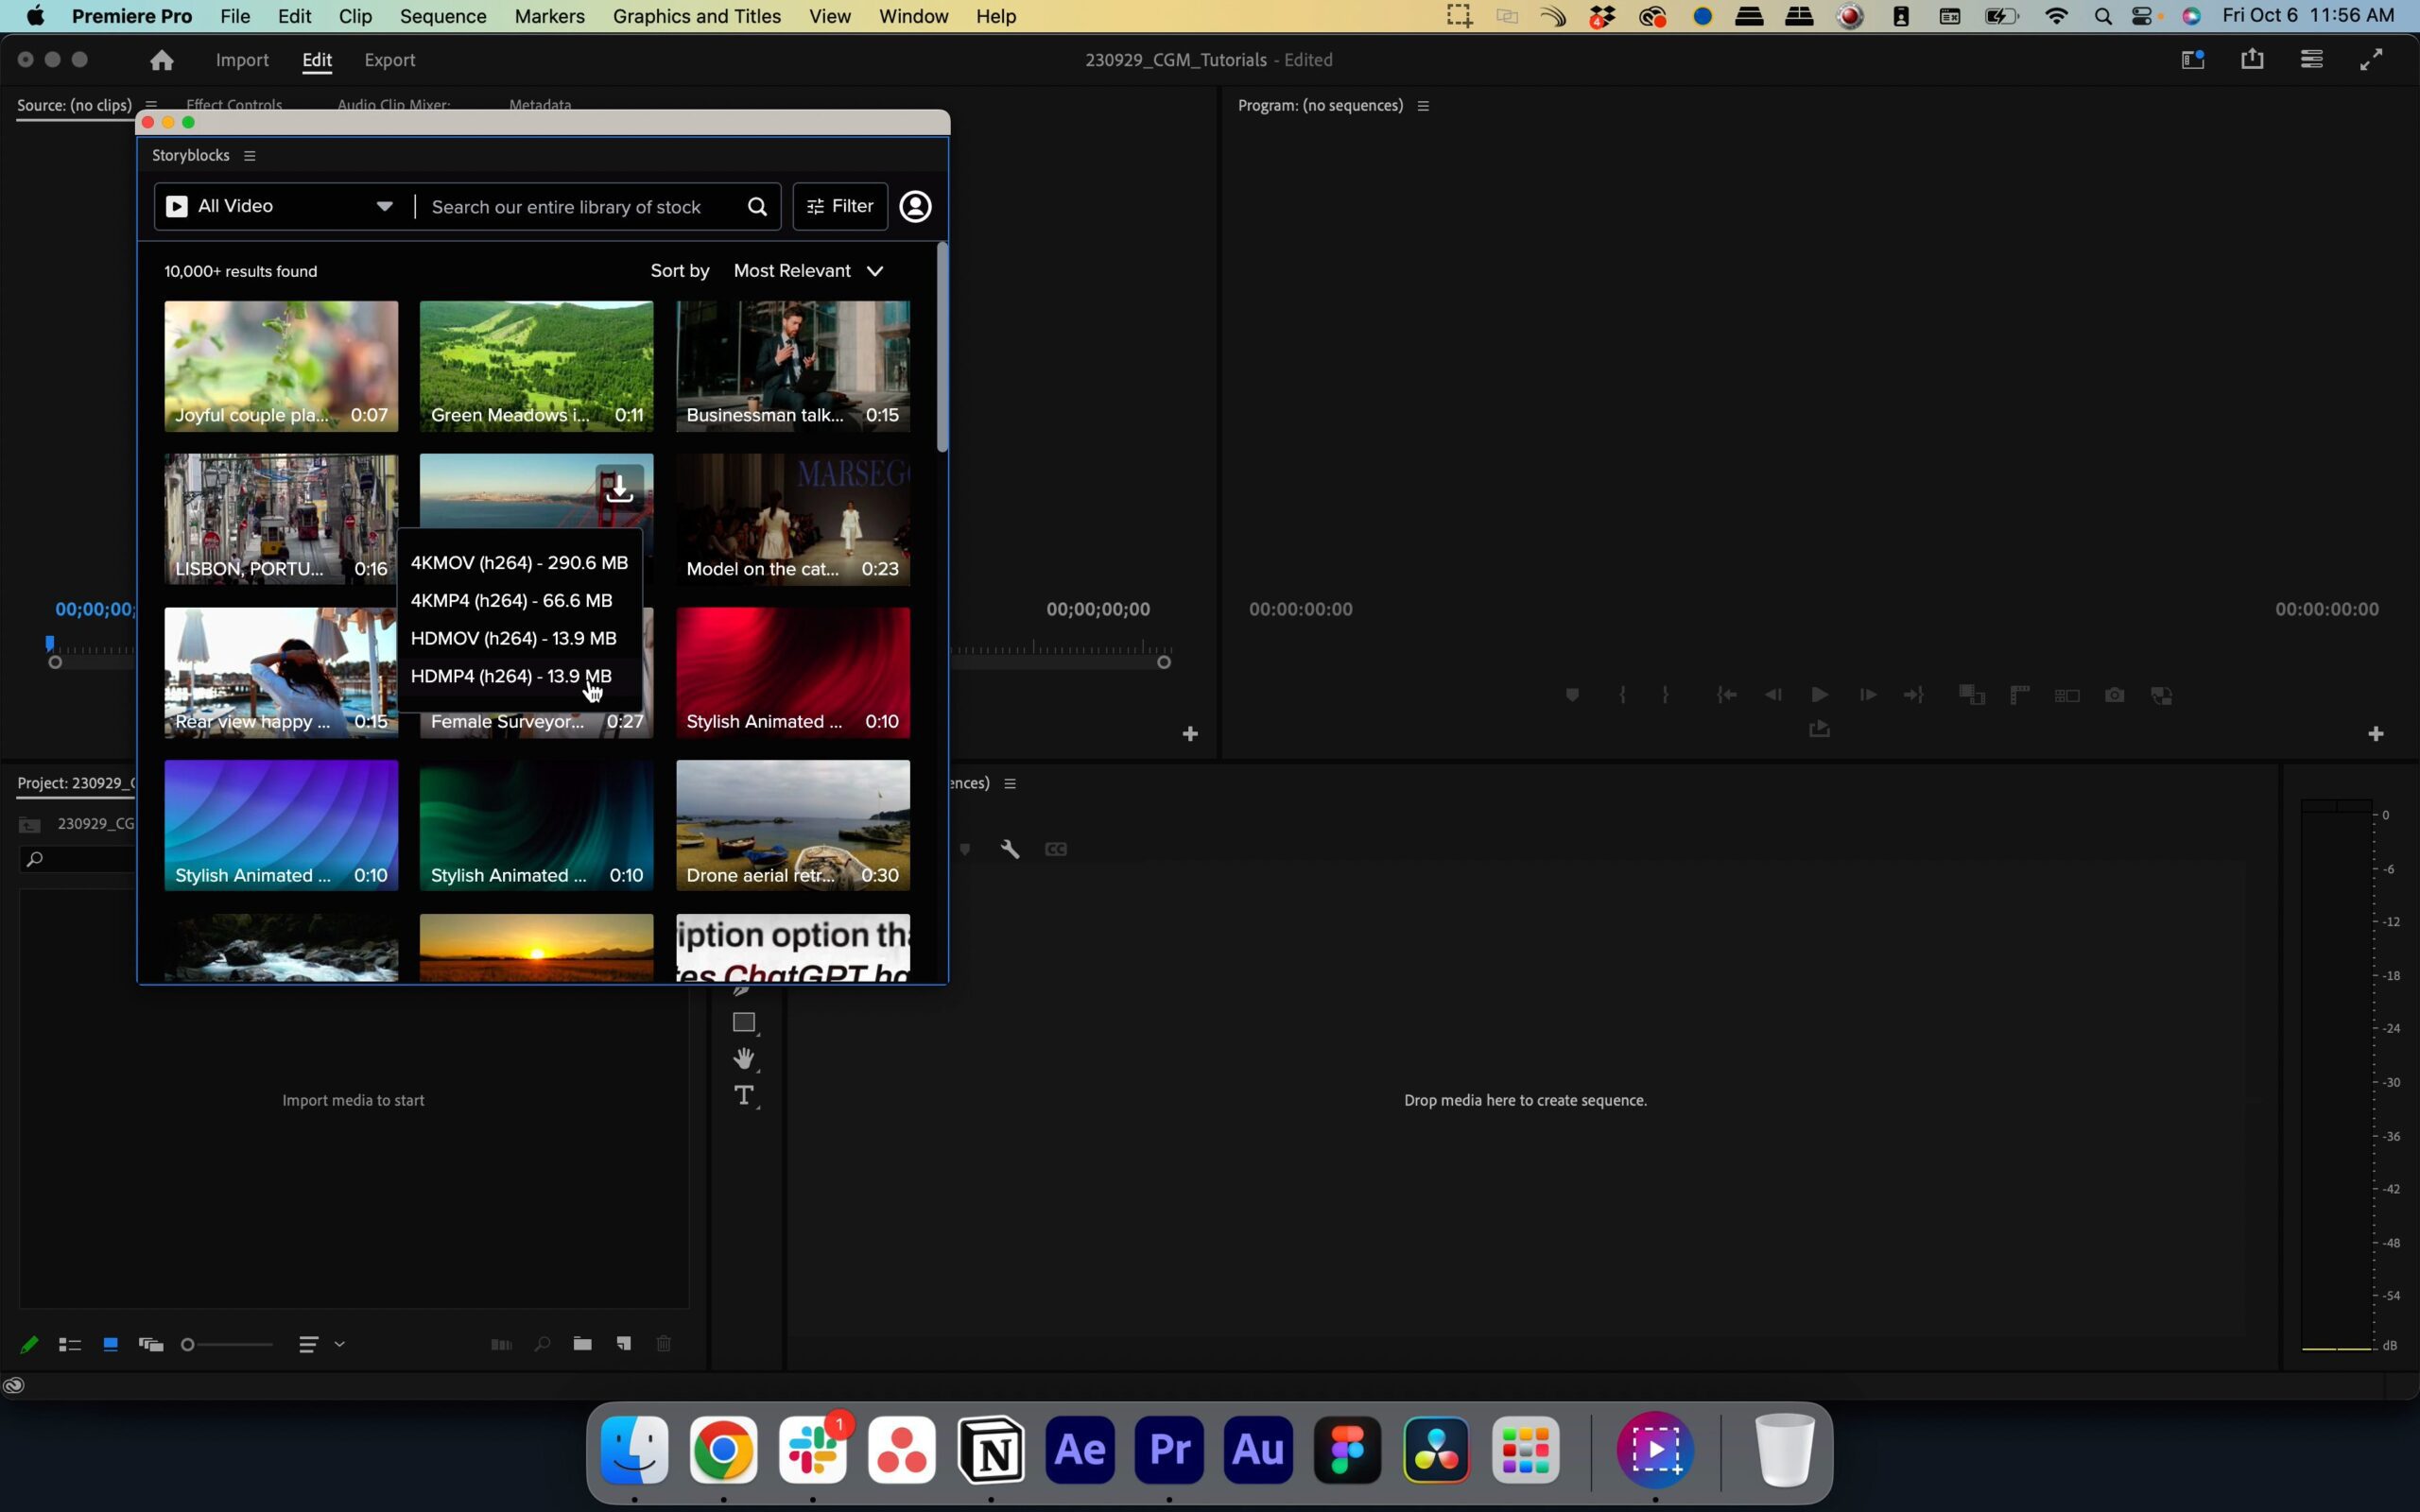
Start by importing a video clip into Premiere Pro that you want to zoom in on. If you have the Storyblocks Plugin for Adobe Creative Cloud, you can easily search through our library from right inside your editor to find footage for this tutorial. Once your clip is in the timeline, you’re ready for step 2.
Step 2: Access the Effects window
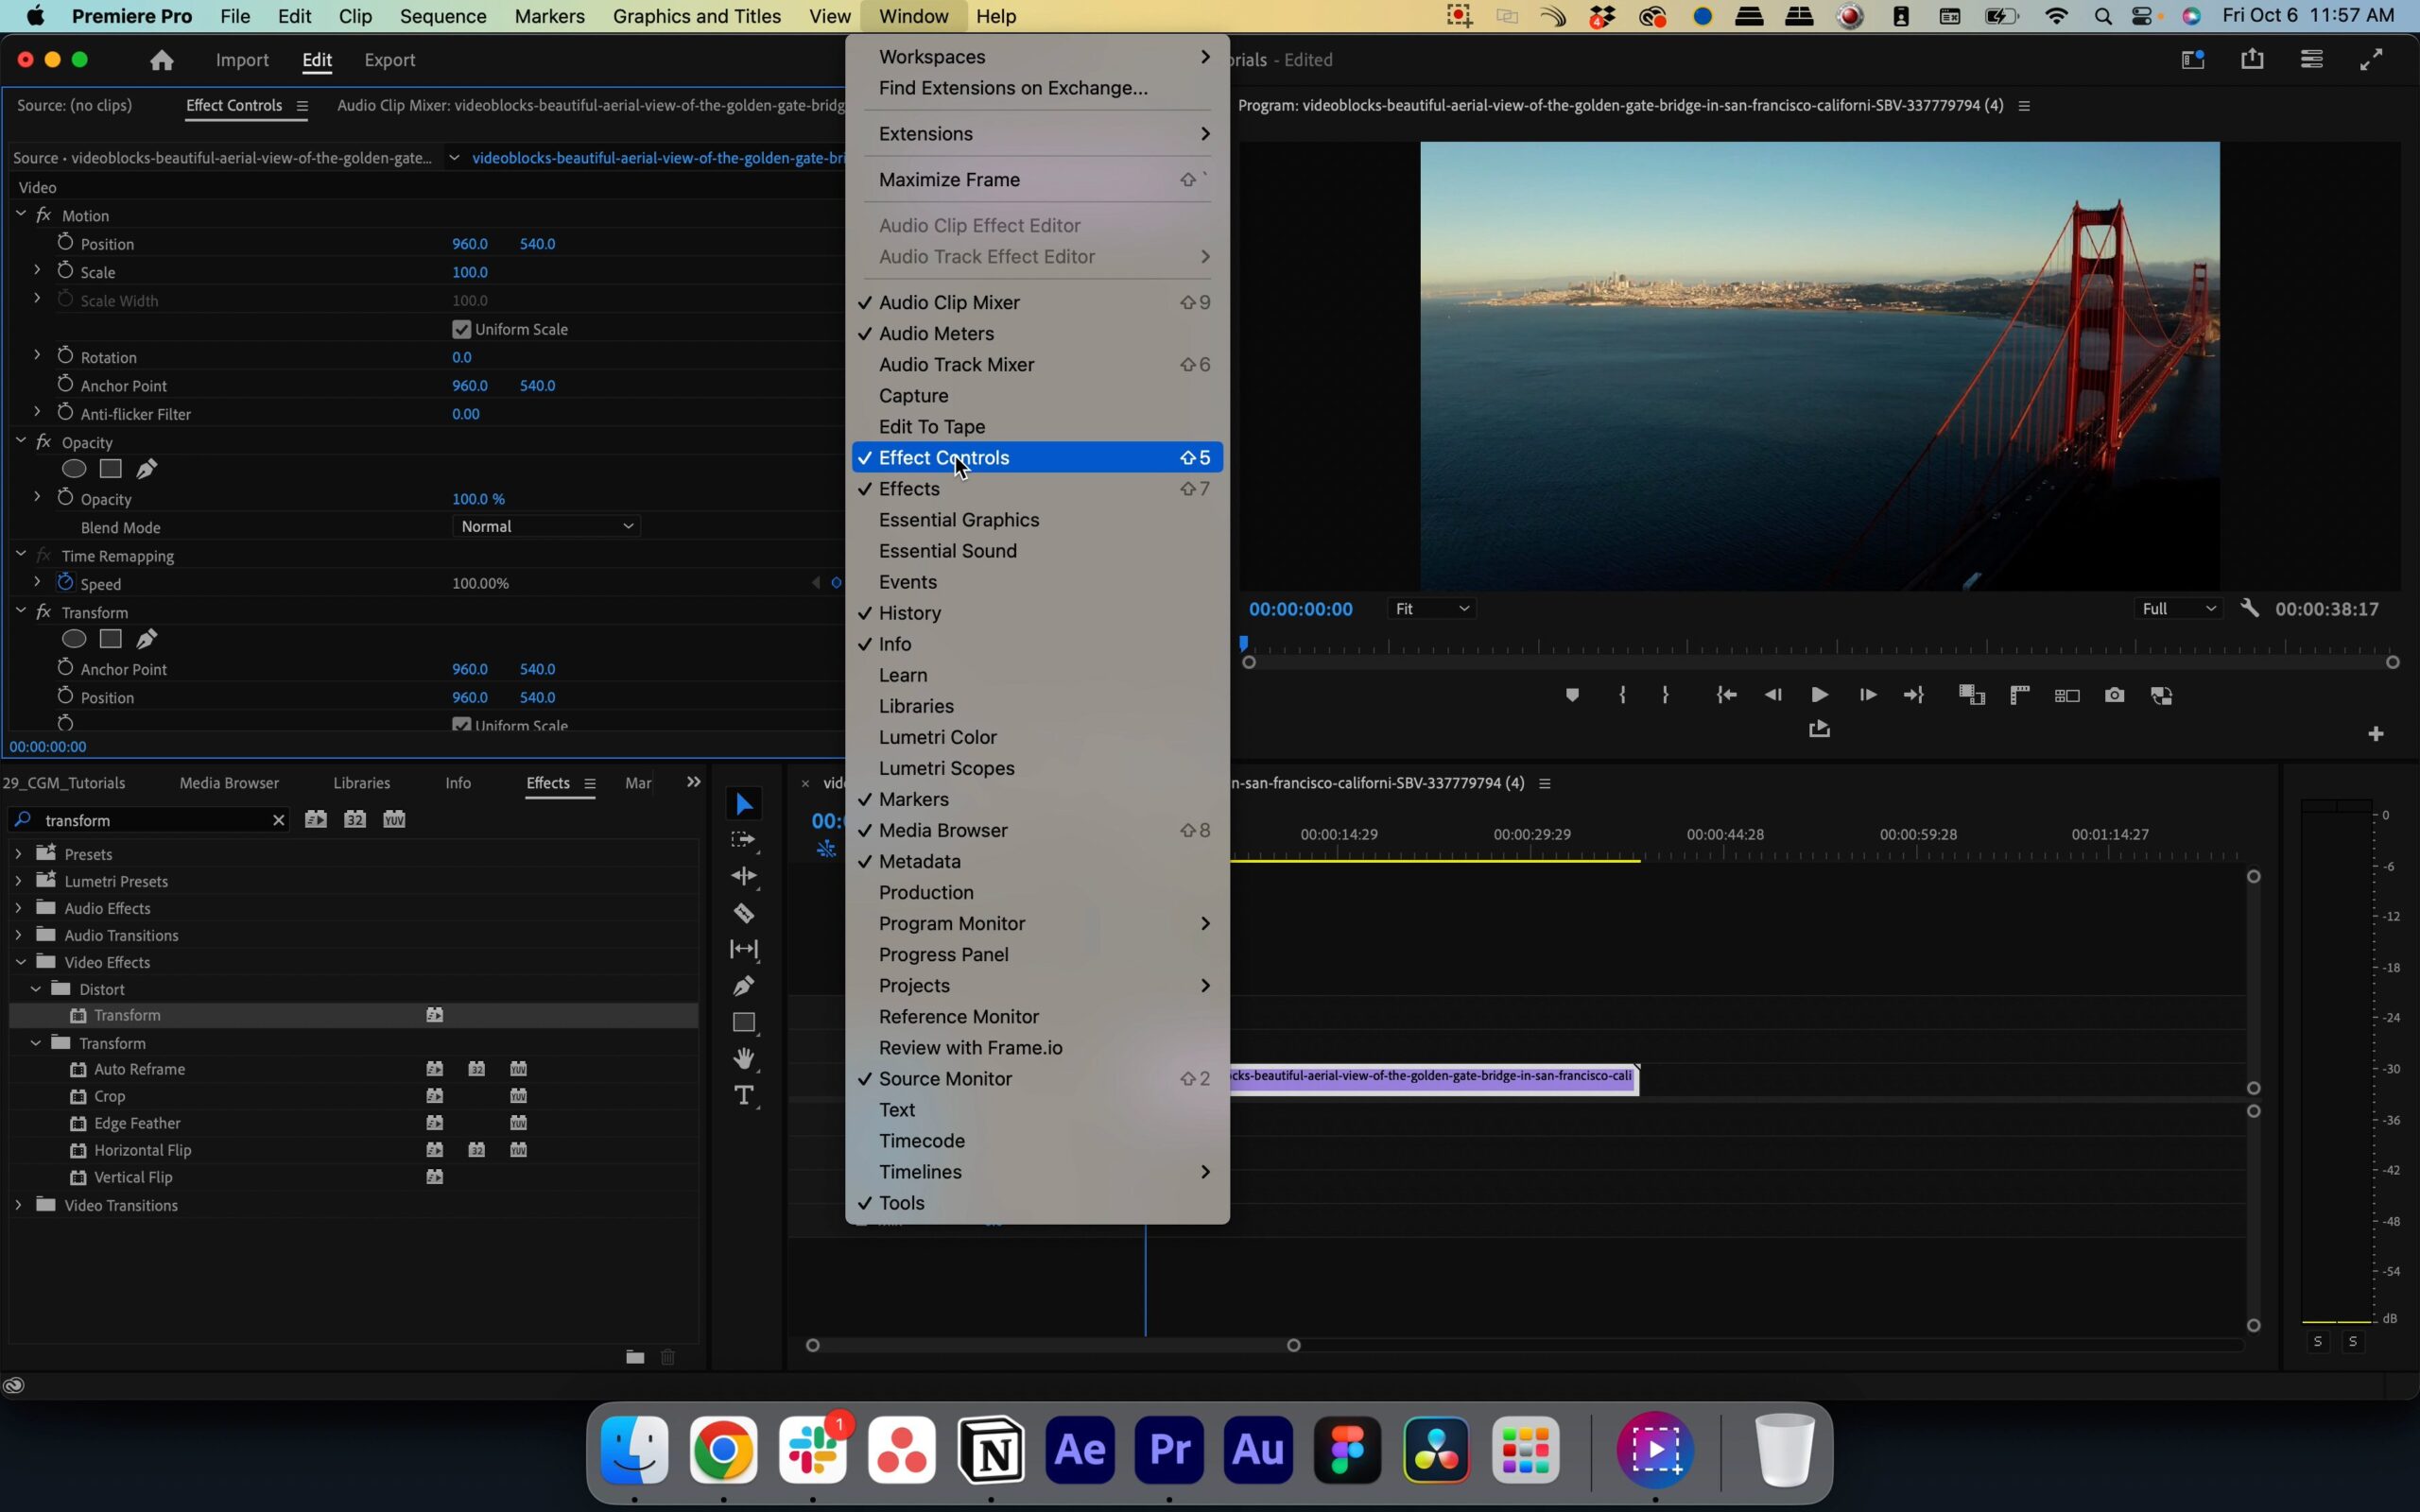
Next, you’ll want to navigate to the Effects window. If you don’t see it in Premiere Pro, go to Window > Effects in the top navigation of your window. You should see the window pop up inside your editor.
Step 3: Apply the Transform effect
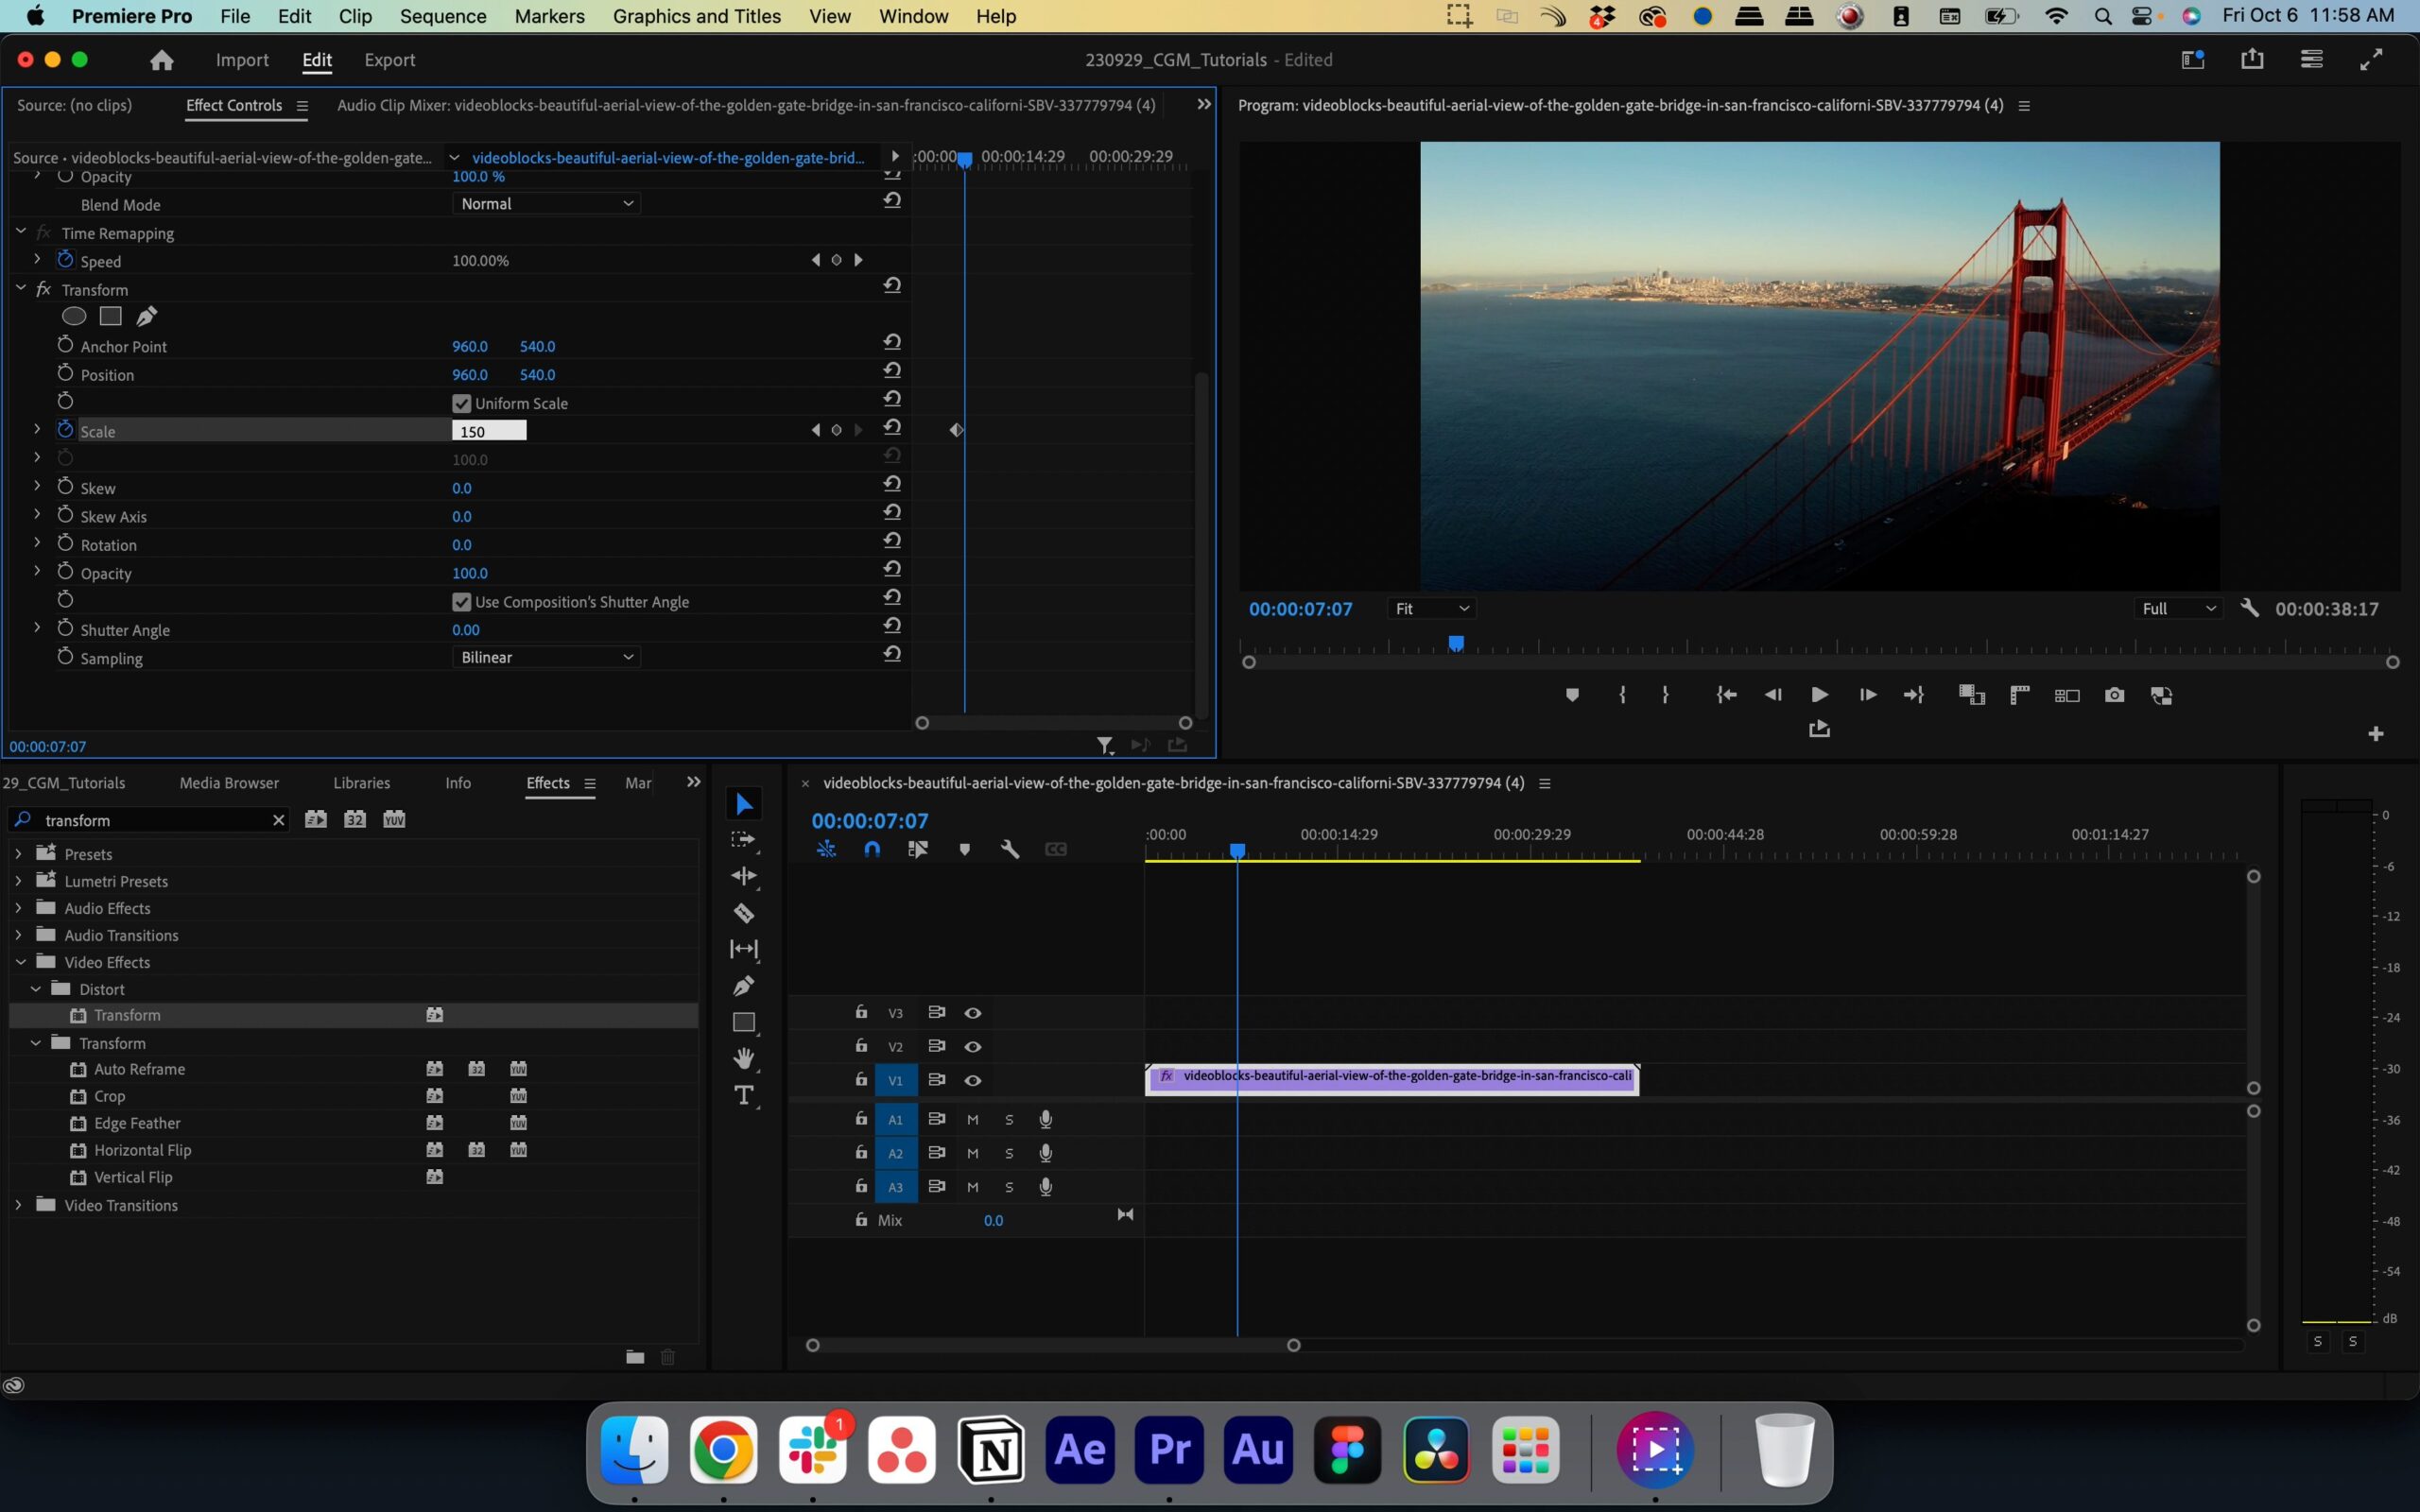
Now, it’s time to start the process of adding your zoom effect. Inside the Effects panel, search for Transform and drag it onto your selected clip.


Step 4: Zoom in on Premiere Pro
With your clip selected and the Transform effect applied, navigate to Effects Controls. If you can’t find it, head to Window > Effects Controls in the top navigation.
Step 5: Set keyframes for your zoom
To start the process of adding your zoom effect, move the playhead to the point in your timeline where you want the zoom to begin. Next, click the stopwatch next to the Scale property under the Transform effect. This sets the initial keyframe for your zoom.

Step 6: Zooming out
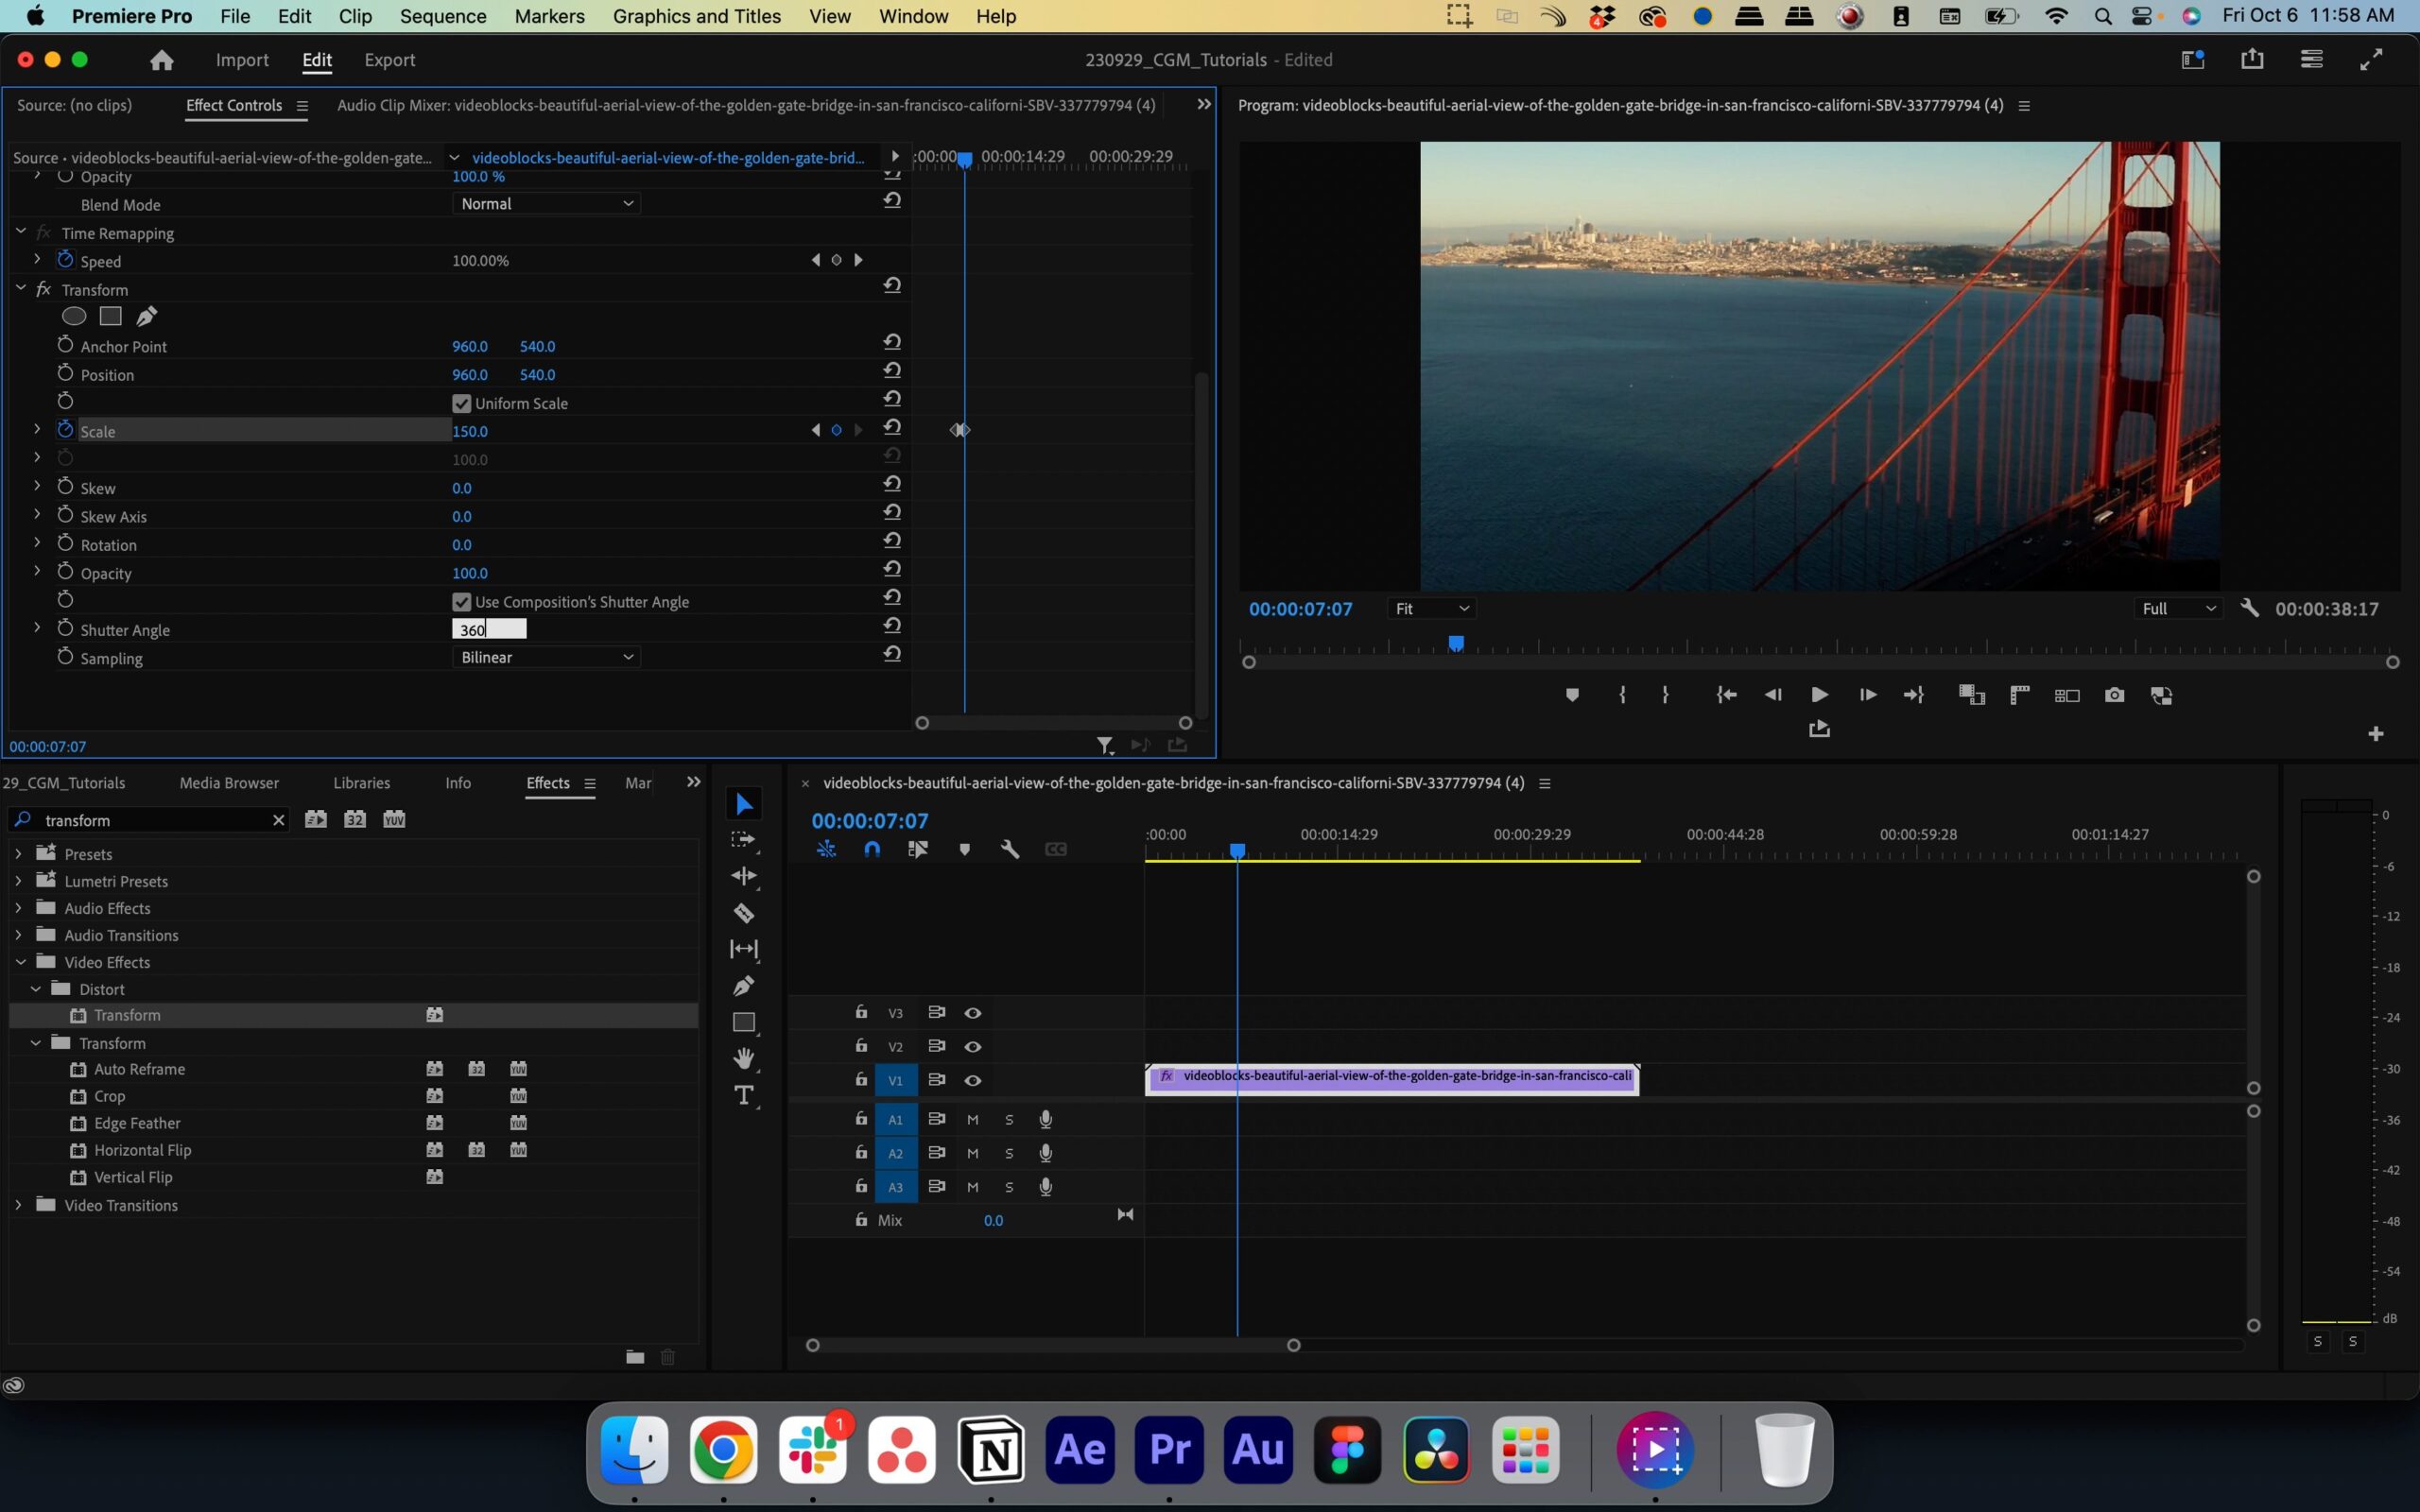
Now, scrub the playhead forward to the point where you want the zoom to end. Then increase the Scale property to create a new keyframe. With this, you’ve successfully added your zoom effect to your footage!
Optional step 7: Add motion blur
For an extra touch of realism, you can increase the Shutter Angle in the Effects Controls menu to add motion blur. Increasing the shutter angle will help make your zoom effect more dynamic and visually appealing.
Add more effects and animations with Premiere Pro templates
To take your video editing to the next level and add more zoom animations and transitions without creating them from scratch, explore our selection of customizable Premiere Pro templates. Pre-made templates make it easy to enhance your video projects with professionally created effects.
There’s so much to learn when it comes to editing video in Premiere Pro. Check out our other video tutorials and learn how to crop video, create a Ken Burns effect, add a glitch effect, and more.

