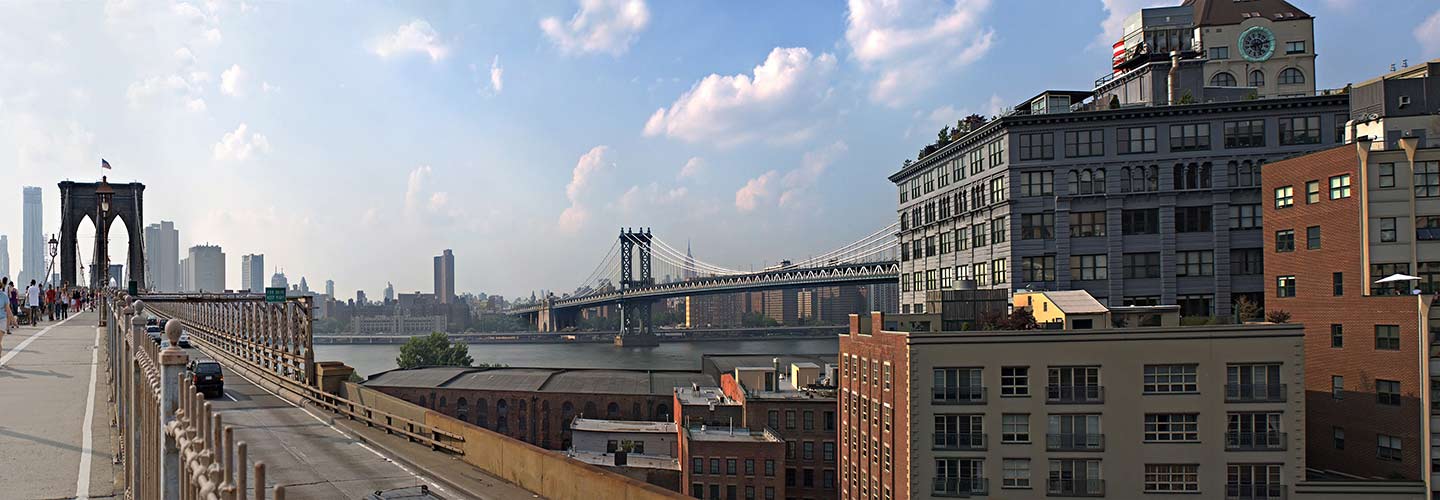
Whether it’s aspirations of catching a soccer game in London, walking the historic cobblestone streets of Paris, or carving up the snow-dusted mountaintops of the Swiss Alps—and of course, the chocolate—we know these are surefire symptoms of a serious case of wanderlust. Nothing gets us in the mood to stamp new pages in our passport—or support our favorite businesses and content creators—like high-quality travel photos that much feel like we’re really there. And what’s more immersive than 360 panoramas?
Using the ever-popular 360 perspective, you can truly get the experience of visiting places you’ve never seen in person. Some of the most striking 360 photos you’ll find on the internet today exist thanks to the magic of programs like Adobe Lightroom.
While Photoshop continues to be the industry-standard for both beginners and experts alike, because of the amount of different functions it can perform, Lightroom is quickly becoming a new favorite among photographers as well. It’s simplicity and streamlined approach to the editing process are making it easier than ever to make professional quality photos right from your own computer.
The following guide will help you learn how to stitch photos together, assist you in choosing the best layout to complement your photo, and show you how to utilize the Auto Crop and Boundary Warp functions, which will put the finishing touch on what could be your best panoramic photo yet.
Got the travel bug? Wander over to Storyblocks for some good inspiration and some even better royalty-free music, video, and images.
How to Stitch Photos Together in Lightroom
First thing’s first, pick out the source images you want to include.
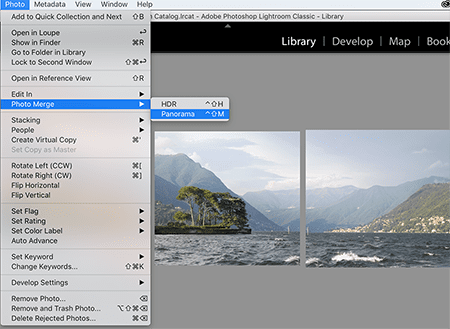
Select Photo > Photo Merge > Panorama

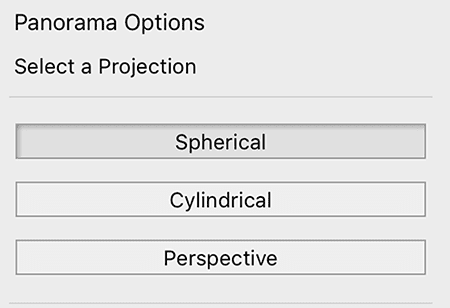
In the Pano Merge Preview dialog box, choose the layout that will work best with your photo. There are three different layout choices, all of which accomplish different things:

Spherical: True to its name, this layout transforms images to appear as if they were inside of a sphere. This layout is ideal for wide panoramas or 360 photos.
Perspective: Unlike the Spherical layout, Perspective displays the photos as if they were on a flat surface. It creates a “bow tie effect” in which the middle of the final image is emphasized. This layout is great for architectural photography, but not so great for very wide photos.
Cylindrical: The Cylindrical layout projects the image as if it were inside of a cylinder. It also works well for wide panoramas but, unlike the Spherical layout, maintains the shape of vertical lines.
Note: It’s best to wait until your photos are merged to make more detailed adjustments (filters, saturation, etc.), because most of the changes you make to individual photos won’t carry over with the final merge.

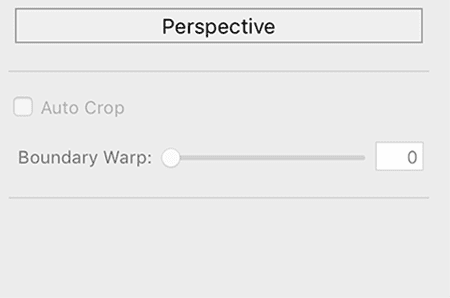
Utilize the “Auto Crop” setting to remove all the remaining white space from the merged image.
After you’re done cropping, use the Boundary Warp setting to adjust the photograph until it fills the canvas.
Boundary Warp saves the part of the image that would have been forced out by Auto Crop.
When everything is set, click Merge!
Now that you’re Lightroom-savvy, all you need is the visual inspiration for your next project. Check out Storyblocks curated collections to see even more bucket list-worthy travel photos, to see the world through a neon lens, or simply to discover what authentic stock media has to offer.


