Text can be a simple component of a video, but it can also create the most impact. Whenever you add text to video, the goal is to convey information and without distracting from the narrative. Luckily, applications like iMovie make adding text to video a breeze. iMovie has lots of useful tools that will take your video production to the next level—without requiring a ton of time to learn how to use it.
Here are some examples of different types of text that you can add to a video in iMovie.
Add Text for Titles

Every story needs a title right? You can choose from multiple styles to add an impactful title to your video.
Use Text for Lower Thirds Callouts

Lower third text is commonly used to identify a subject like the person speaking on camera or the location.
Use Intertitles (Text During Film)

Help drive your narrative by using text to make a point or introduce the next idea.
Add Credits

Give props to everyone who helped make your video!
What makes adding text in iMovie even more convenient is the ready-made transitions and effects that come with each title option. You’ll get a professional, polished look with just a few keystrokes. We’re going to show you step-by-step how to add text in iMovie. iMovie’s user interface is super simple to navigate, but we have a beginner’s guide to iMovie for those of you who are new to the program. The process for adding text is the same no matter which style you choose. To get us started, we’re going to use footage of a motorcycle from our Creator to Creator collection.
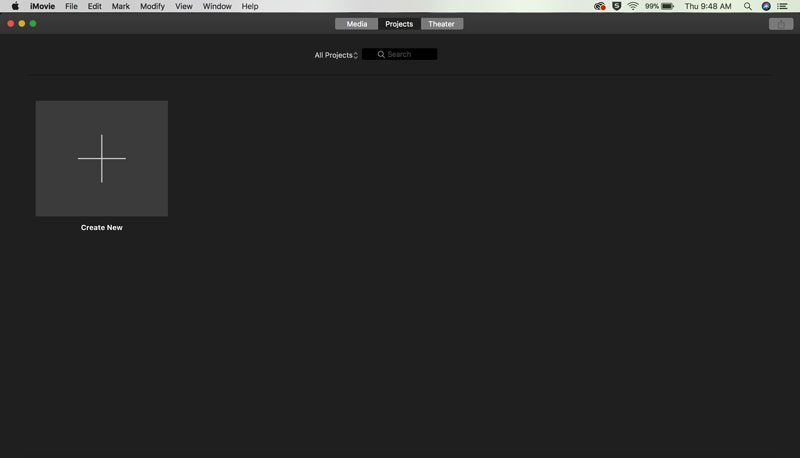
Step 1. Launch iMovie
From the home screen select Create New and a blank Workspace will appear.
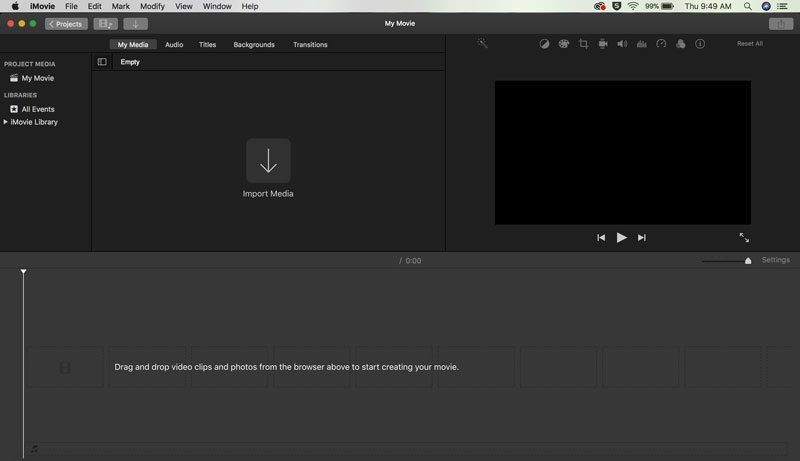
Step 2. Import Your Media
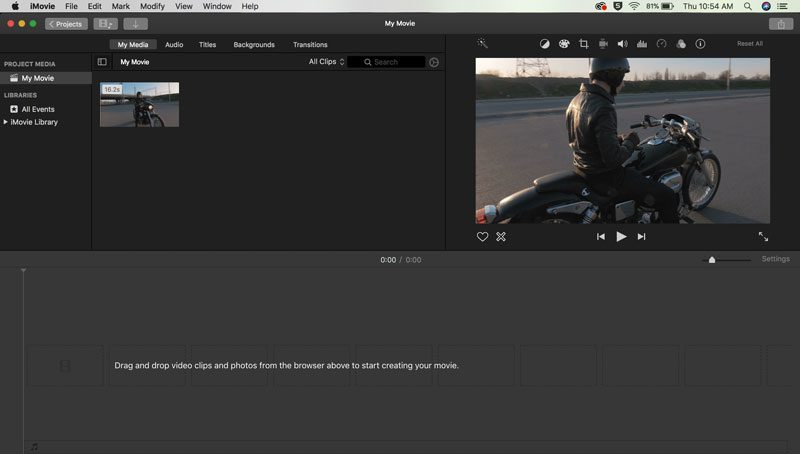
Go ahead a click on the Import Media arrow. You’ll be directed to a menu where you can navigate to your desired clips. Once you’ve selected your clips, click Import Selected in the bottom right corner. You’ll then be sent back to your Workspace with your video ready to go.
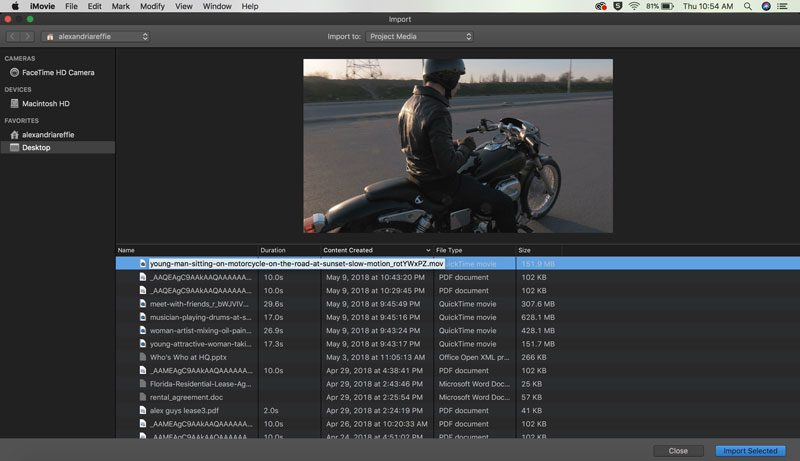
Step 3. Drag Your Video to the Timeline
Click and drag your video clip into the timeline—the clip will automatically expand so it will be easy to see what you’re working with. The expanded timeline allows you to quickly scrub through your footage to pick the perfect place for your title to appear.
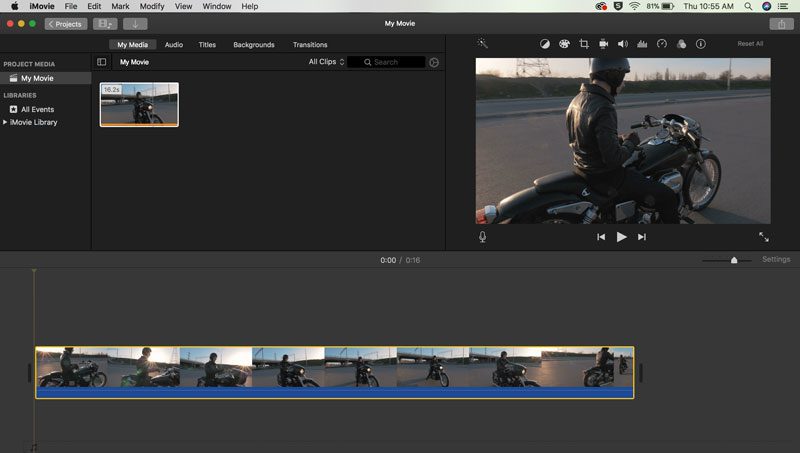
Step 4. Add a Text Layer
Go to Titles at the top of the Workspace (above where your imported footage is located) and you’ll see a menu of text options and styles to choose from.
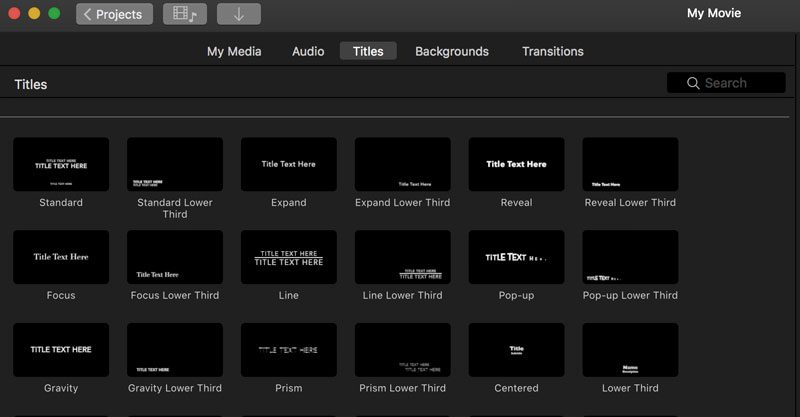
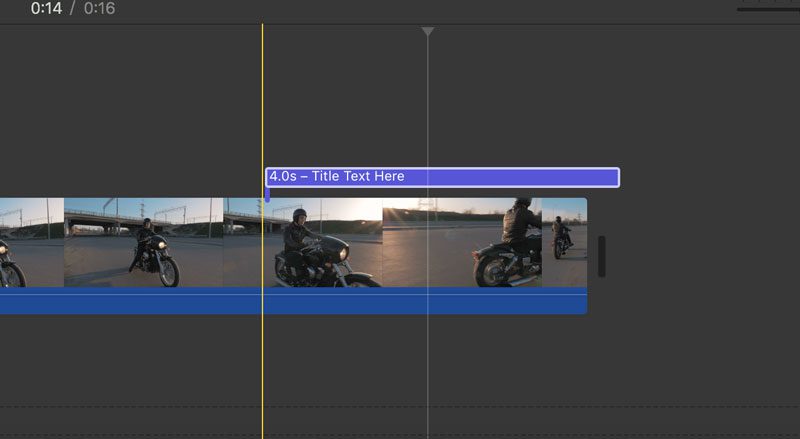
You can preview what each title looks like (including animations and effects) by moving your mouse across a title. Once you’ve found a text preset that you like, double-click on it and the title will drop into the timeline.
Step 5. Customize Your Text
You have the ability to drag and drop text anywhere in your video—it doesn’t have to be at the beginning or end. Play around with matching your title with the right timing in your footage. When you’ve figured out the placement, go to the upper right-hand corner of your Workspace to see the Text Controls menu.
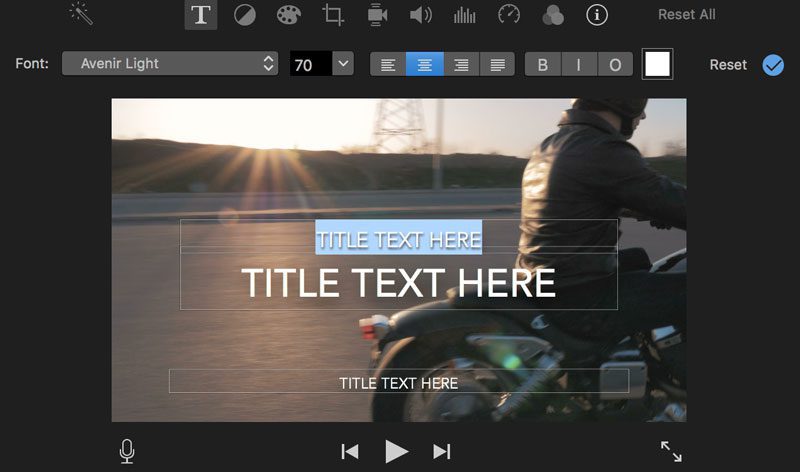
This menu is where you can actually add text to the clip, as well as change the font style, size, color, and alignment. We went ahead and created this title for our clip:
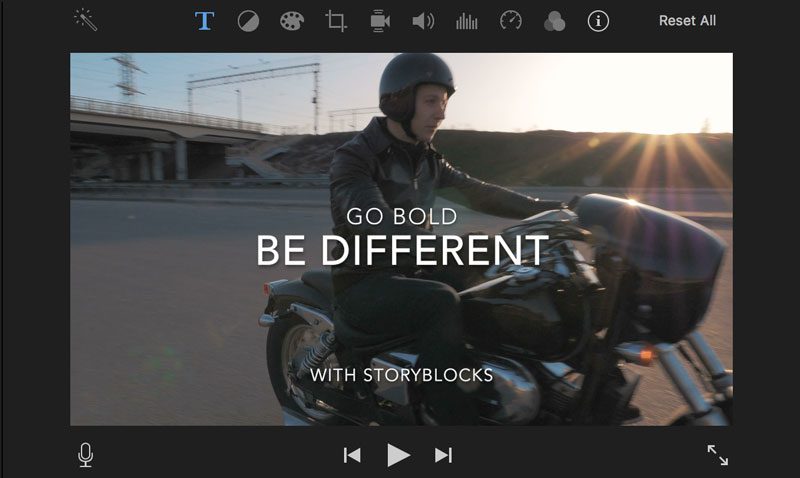
Check out what it looks like in action.
iMovie makes it unbelievably simple to add text to video—not to mention, the design and effects templates are pretty spot-on. Creatives love a streamlined workflow, and adding text to video in iMovie is just that. Ready to try it out now? Stop by our library to grab authentic royalty-free stock footage to use in your next iMovie project.


