
This might come as a surprise, but Adobe InDesign isn’t just for print. The program can do wonders for manipulating digital images. While it may not be your first stop for editing your images, InDesign is home to a handful of useful and creative tools to make your photos stand out. If you’ve never worked with images in InDesign, don’t fret. We’re going to show you some basics on how to crop an image in InDesign, insert images into your project, apply effects, and add and transform graphics. If you’re looking for some inspo, make sure to check out our library of stock images and graphics. Now let’s get started!
How to Insert an Image in InDesign
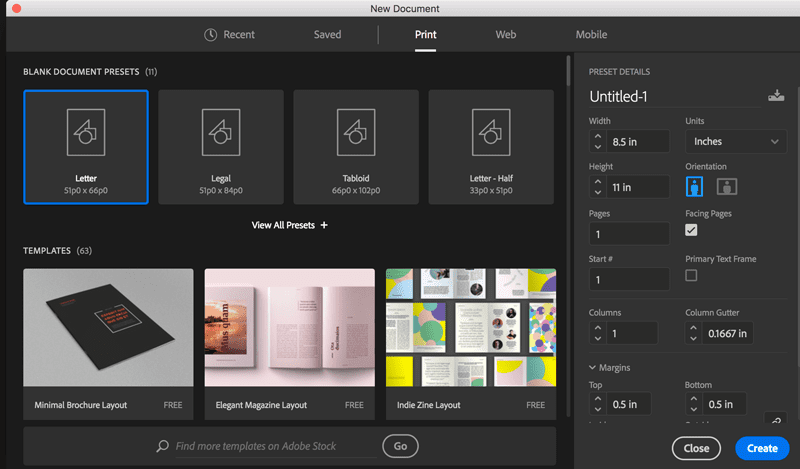
Go ahead and open InDesign and select Create New. We’re sticking with the traditional 8.5 by 11 inches for our work today, but feel free to get creative.
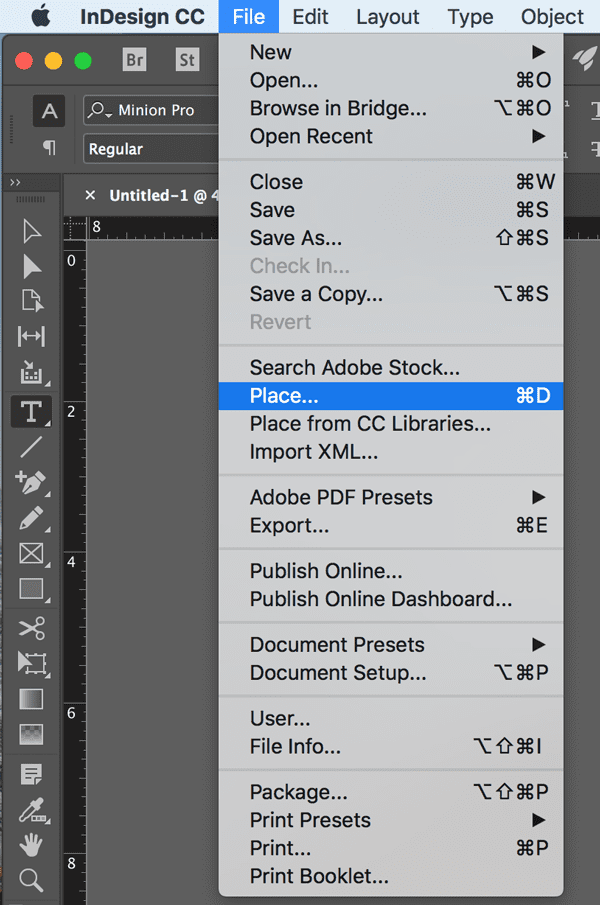
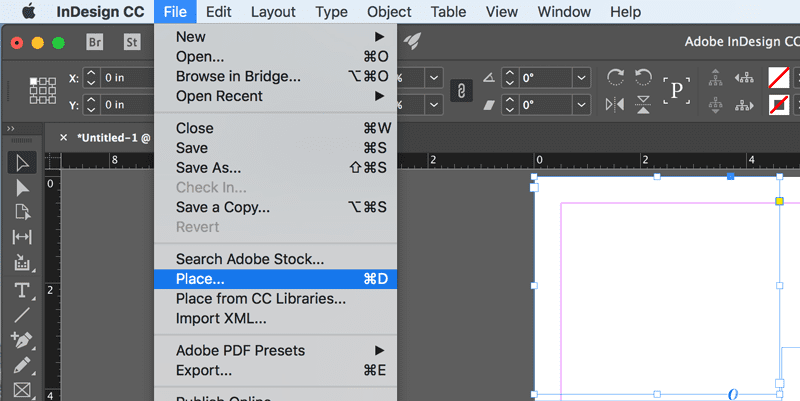
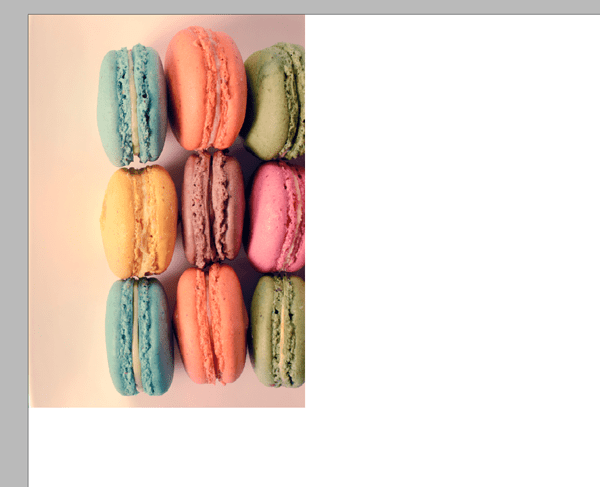
If you’re just looking to include one image in your project, all you need to do is go to File > Place and choose the image you’d like to insert. Then, click anywhere on your document to drop the image. Unless you previously re-sized the image in Photoshop, you will probably have to alter the size of the image to fit your project.
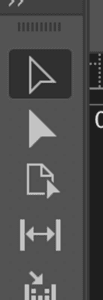
Use the Direct Selection Tool to directly alter the image. Also, be aware that the image has two outlines attached to it: one borders the image itself and the other functions as a frame for the image. This comes in handy if you want to hide part of the image and for manually resizing the image in different frame options. Pull the handles on either outline to create changes to the image.
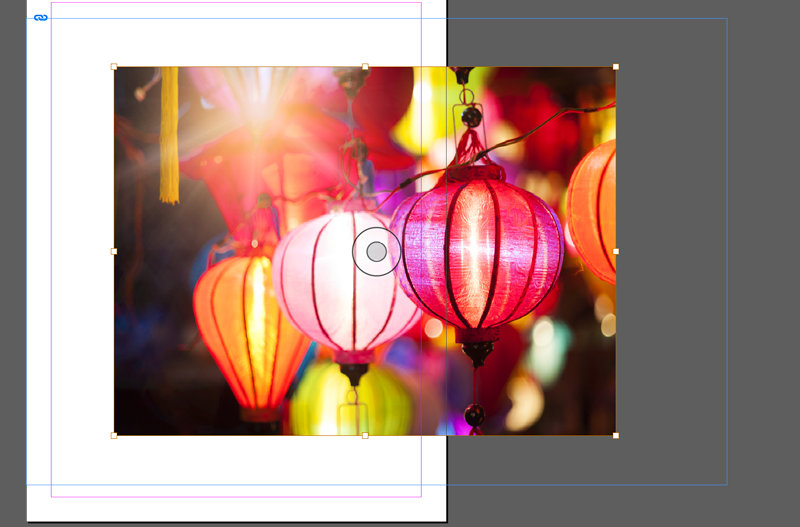
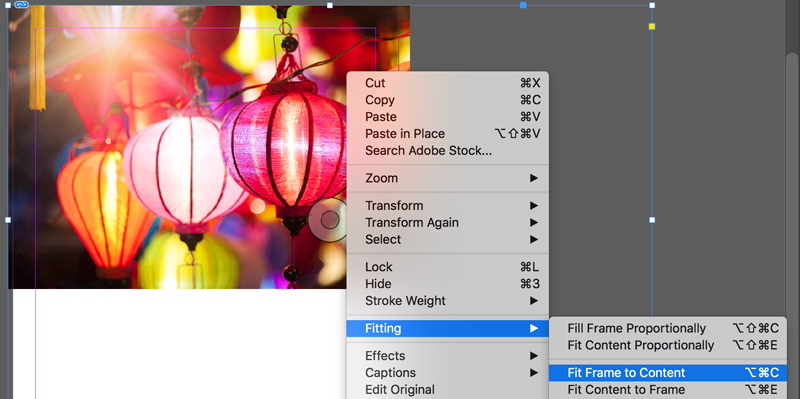
Once you have got your image formatted, right-click anywhere on the image and chose Fitting > Fit Frame to Content so that the image and its frame are aligned. This will help keep your workspace as clean as possible.

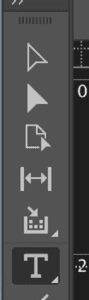
The next way to insert images into InDesign is by creating multiple frames within your document. This will allow you to place the images exactly where you’d like them—all you need to do is resize the image to the dimensions of the frame that you’ve created. With the Text Tool, draw however many frames you need for your images. Once you’ve created the frames, you can use the Direct Selection Tool to move them around the document.
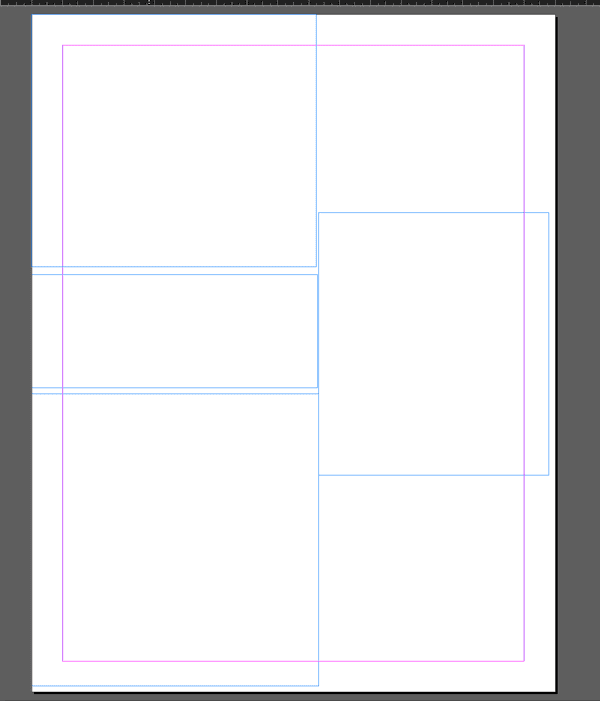
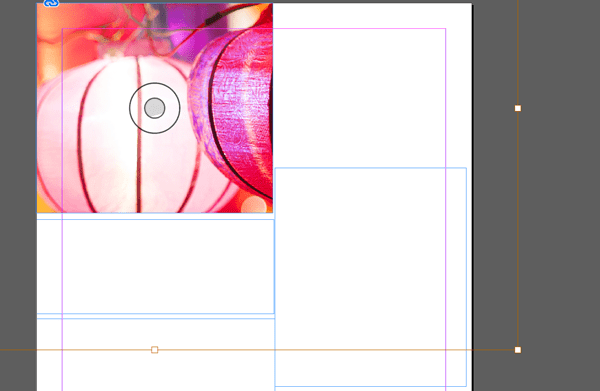
Use the Direct Selection Tool to select one frame at a time. With your frame selected, go to File > Place and select the image that you want to place inside the frame. Click on the center of the image to show the orange transformation guidelines and resize your image to fit the frame.
How to Crop an Image in InDesign
Cropping an image in InDesign is fairly simple, but there are several ways to do so. The first method involves manipulating those frames we talked about earlier. When you place an object into a frame, you are capable of hiding part of the picture—essentially cropping it out. Take a look at the example below.
Before cropping using frames:

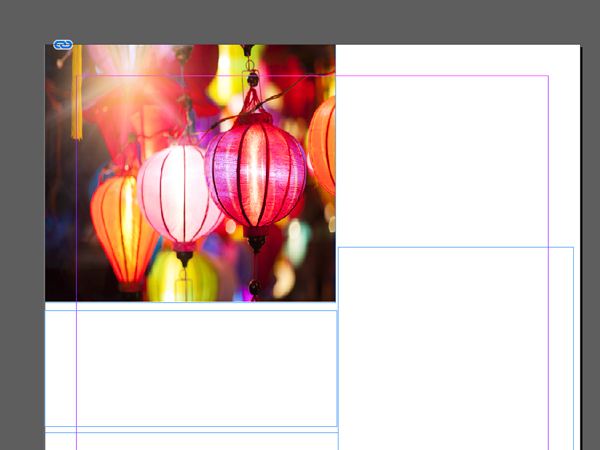
After cropping using frames:
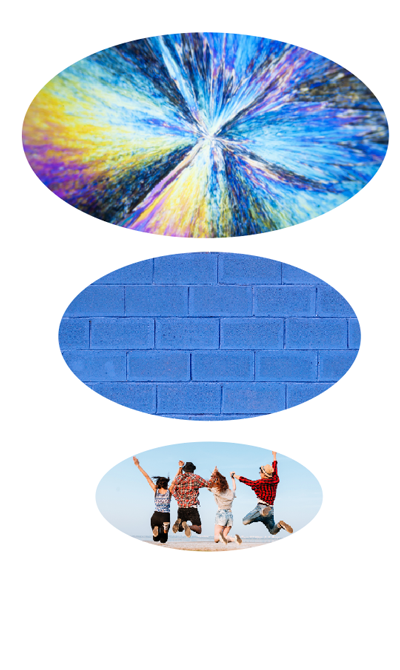
Another way to crop images in InDesign is by nesting graphics into container frames. In other words, a frame that takes a different shape, other than a square or a rectangle, is used to crop your image. Maybe you want to crop your image to an ellipse or a polygon, or even a custom shape that you create in InDesign or Adobe Illustrator.
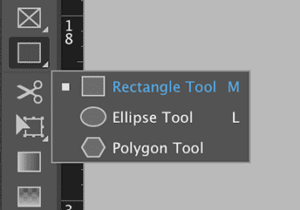
When you right-click on the Rectangle Tool, you open up a menu that includes the Polygon and Ellipse Tool. Draw a frame and simply place your image inside of it just like before. You can also change the border or outer design of the shape by changing the stroke style and color in the overhead toolbar.


How to Apply Effects to Images in InDesign
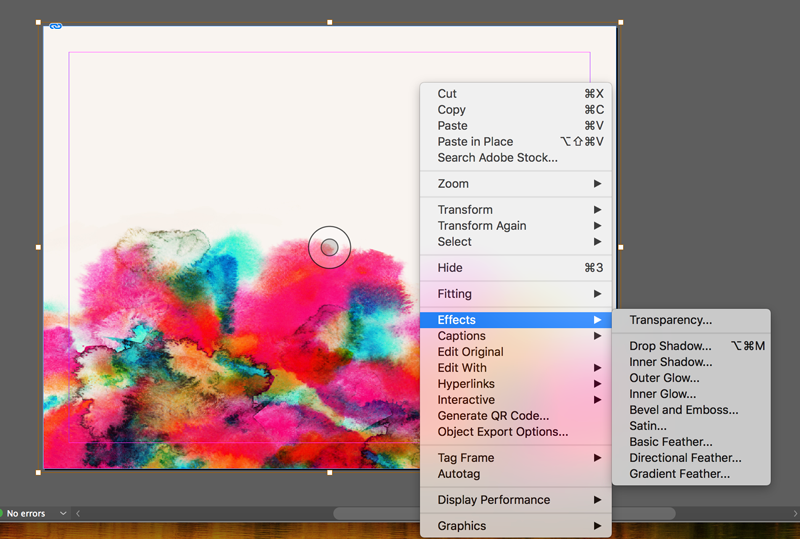
There are a ton of ways that you can edit photos in InDesign—many effects in Photoshop can also be achieved using Adobe InDesign. They may be the pretty basic edits, such as Transparency, Drop Shadows, Glows, and Gradients, but nevertheless, it’s useful to know how to use these tools. InDesign is also a great place to combine text and images. We have an in-depth tutorial on how to wrap text in Adobe InDesign on the blog for you to check out.
To open the Effects Panel in InDesign, all you need to do is select your image, right-click > Effects, and choose your desired effect.
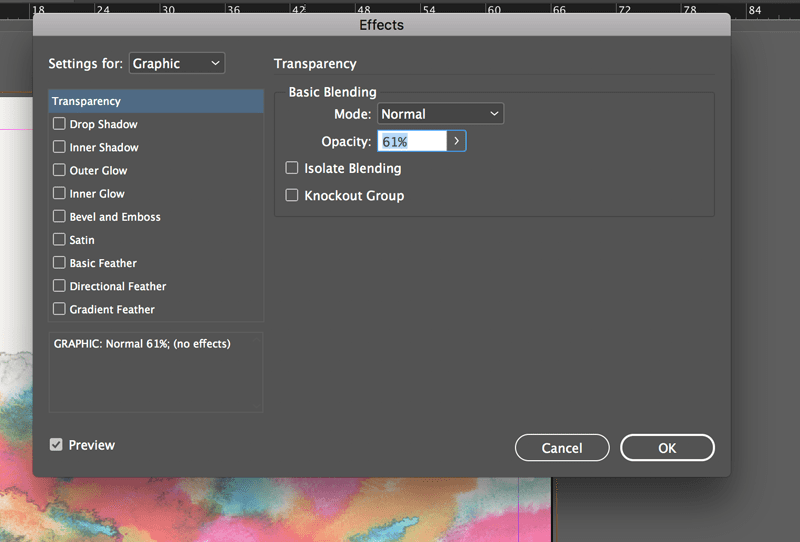
Spend some time messing around with all of the image transformation options that InDesign has to offer—you never know what you could end up creating!
There you have it—you’ve learned how to insert images, crop them, transform graphics, and apply effects in InDesign. Now you’re ready to hit the ground running on your next Adobe InDesign project. To really get going, check out our collection of fresh stock images in our library.

