After Effects is completely designed and built for animation. It’s the main reason many filmmakers and editors use the program, so in this next section we’ll cover the animation basics: scale, opacity, position, and rotation. These Transform controls allow you to make adjustments to your layers with regards to the various cardinal characteristics of animation.
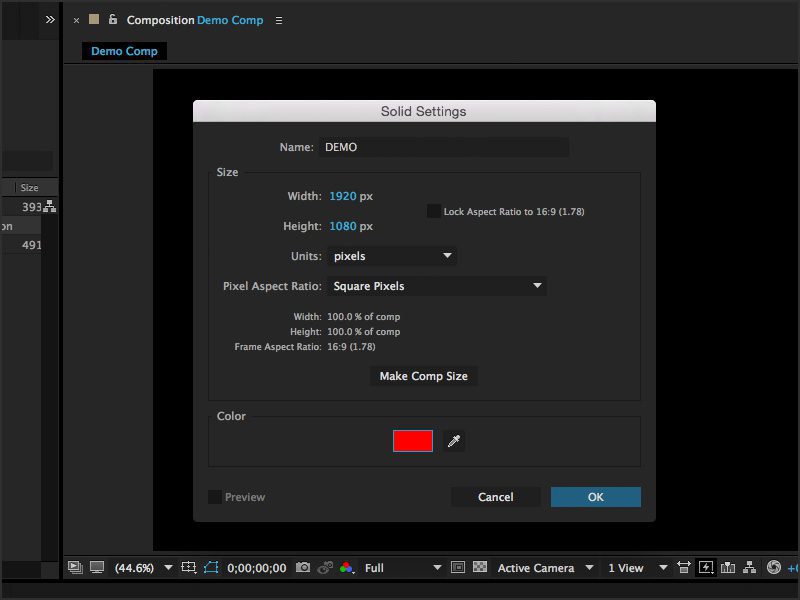
To explore these controls, let’s start by creating a new composition. You can right-click in your layer area and > New > Solid. The solid settings will now appear.
Give it a name such as DEMO, make it the comp size then select a color like RED.
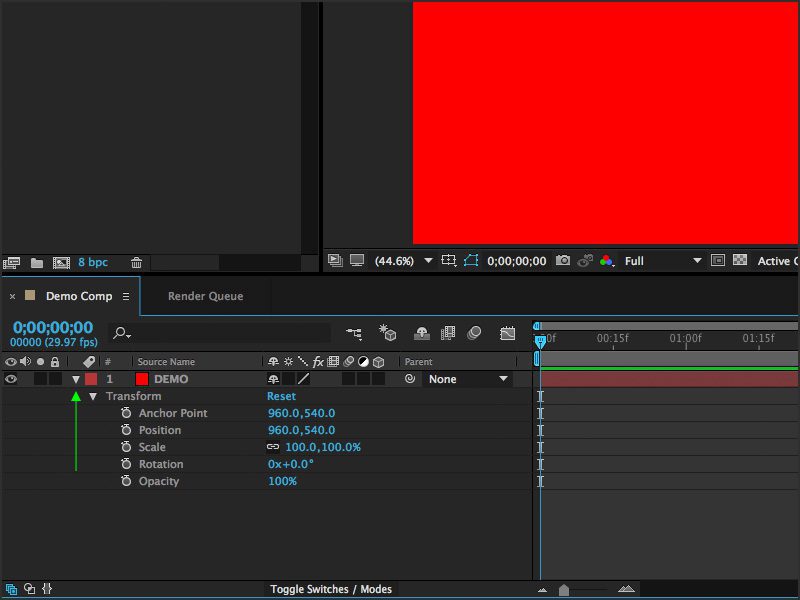
Now you will be able to see your DEMO layer in the layer panel and you will be able to see it in your composition preview window.

Next, start by flipping the small triangle next to your layer name down. This will open up your transform option tab–if you click the triangle on Transform you will now see all the basic values you can adjust or animate.
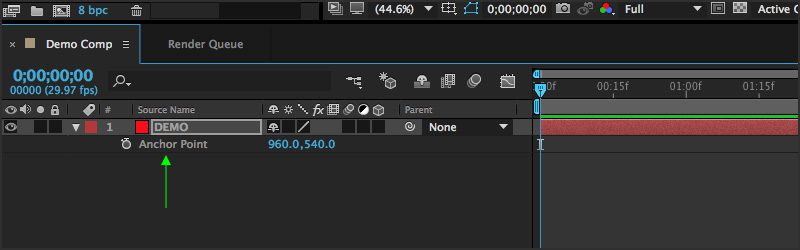
Anchor Point (Key Command “A”)
Your anchor point is a position from which all scaling, rotating, and positional movement controls occur. If your anchor point is dead center, your layer will rotate and move from that point. If your anchor point has been moved to a true corner of your layer, then when you scale or rotate your layer, it will rotate from this new anchor point. This is very useful when you are making multiple layers all rotate from a single point.
Position (Key Command “P”)
Position is one of the most commonly used transform controls. The tool strictly adjusts the vertical (Y) or horizontal (X) position of your layer. When working in 3D space, you can also adjust the Z-axis position, which pushes layers back or forward toward the camera.
&nsbp;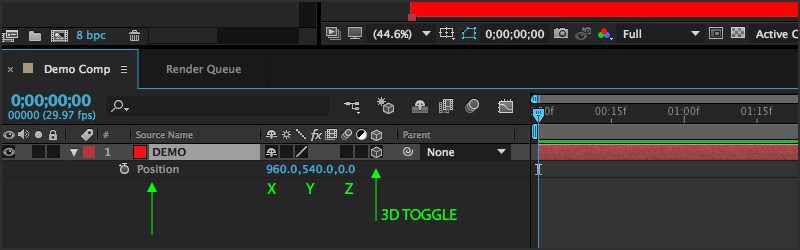
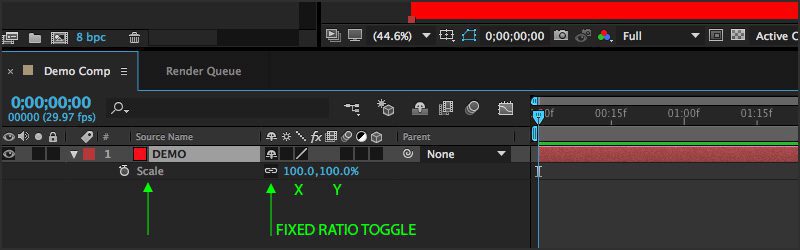
Scale (Key Command “S”)
Scale is measured by two values, x and y or width and height. By default the scale is set to keep it’s original ratio. However, if you want to adjust a single side of your solid or layer separately, you will need to deactivate the lock between the two. You can do this by clicking on the small (link) icon next to the “100.0%, 100.0%.” This will now make each side an individual value. Animating the scale of a layer can be used to create a logo or image that appears to be moving toward you or away from you.
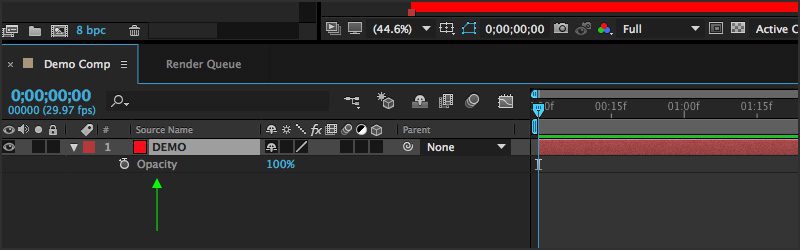
Opacity (Key Command “T”)
Opacity is simply the amount of opacity–or translucence–the layer has. 100% is fully opaque and 0% means the layer is completely invisible or fully transparent.
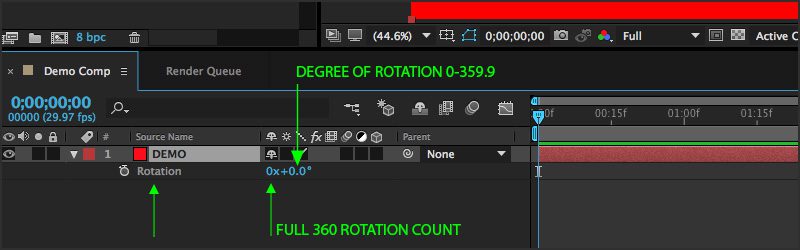
Rotation (Key Command “R”)
Rotation is a great way to add subtle movement to layers and solids. Again, there are two types of rotation: 2D and 3D. In 2D rotation, you have two values. The degrees on the right will show you a numerical value from 0 – 360 before starting over. After you reach 360, the number on the right will change from 0 – 1 and so forth, for every complete 360 degree rotation you create. So, for example. if you had a value of 5x+180, you have rotated your layer 5.5 times around.
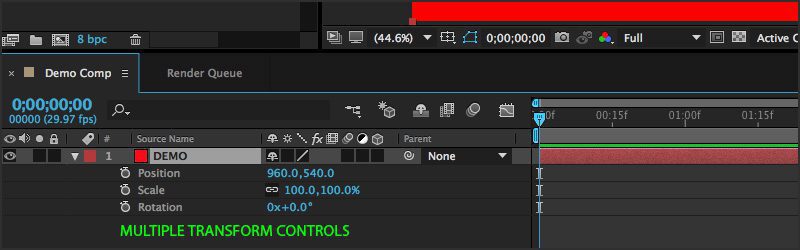
Multiple Transform Control Selection
Often times you will want to select multiple transform controls to animate at a single point or keyframe. For example, you may want to adjust the scale, position and rotation of your layer all at once. To do this, you need to hold down the shift key and hit your shortcut keys for each transform control.
To try this, hit the “S” key and then hold down the (Shift Key+P+R).