
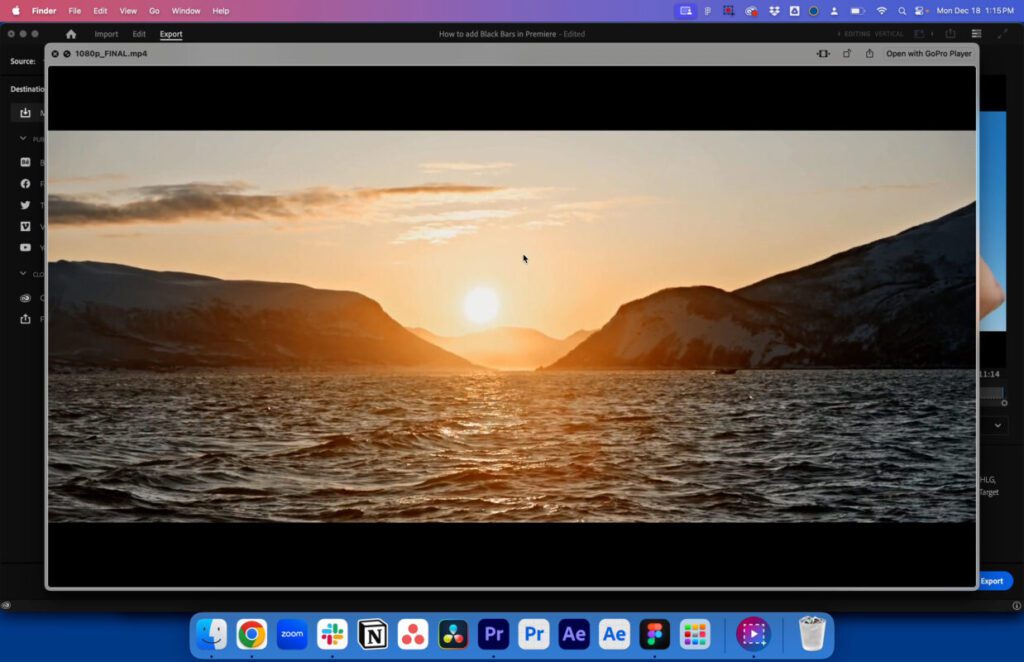
Adding cinematic black bars to videos, also known as letterboxes, adds a touch of movie magic to any project. While there’s a few different methods you can use to achieve this effect, the technique we’ll be exploring in this post uses nested sequences in Adobe Premiere Pro. We’ll walk you through the process of creating cinematic black bars in a 2:35:1 aspect ratio for your video projects and make you a pro in no time. You can also watch our quick YouTube shorts video on how to add black bars in Premiere below.
Understanding aspect ratios in film
Before we start, it’s essential to grasp the various aspect ratios commonly used in the film industry. Here are some popular options:
- 2.35:1 Cinemascope Widescreen
- 1080p HD: 1920 by 817 pixels
- 3840p UHD: 3840 by 1637 pixels
- 4096 C4K: 4096 by 1749 pixels
- 2.39:1 Anamorphic Widescreen
- 1080p HD: 1920 by 800 pixels
- 3840p UHD: 3840 by 1593 pixels
- 4096 C4K: 4096 by 1716 pixels
- 1.85:1 Flat Widescreen
- 1080p HD: 1920 by 1038 pixels
- 3840p UHD: 3840 by 2076 pixels
- 4096 C4K: 4096 by 2214 pixels
- 2:1 Univisium Widescreen
- 1080p HD: 1920 by 960 pixels
- 3840p UHD: 3840 by 1920 pixels
- 4096 C4K: 4096 by 2048 pixels
- 4:3 Fullscreen
- 1080p HD: 1440 by 1080 pixels
- 3840p UHD: 2880 by 2160 pixels
- 4096 C4K: 4096 by 3072 pixels
Using nested sequences for cinematic black bars in Premiere
1. Duplicate your sequence
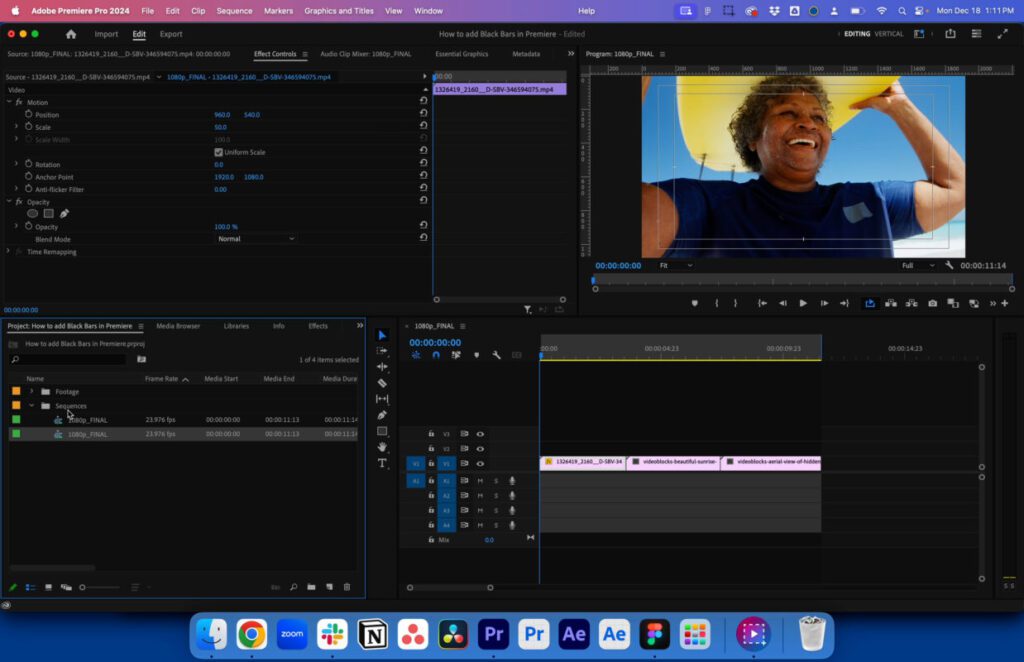
First, you need to duplicate your final sequence in Premiere Pro. This copy will serve as the canvas for you to add in black bars.
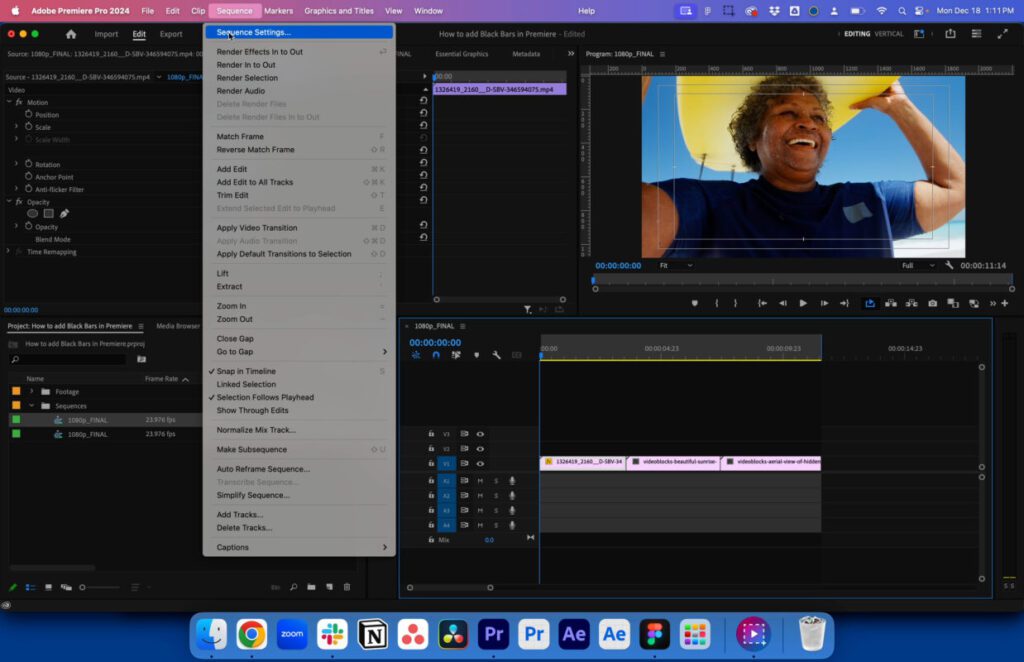
2. Adjust your sequence resolution
Then, navigate to ‘Sequence’ and select ‘Sequence Settings’ for your original sequence.
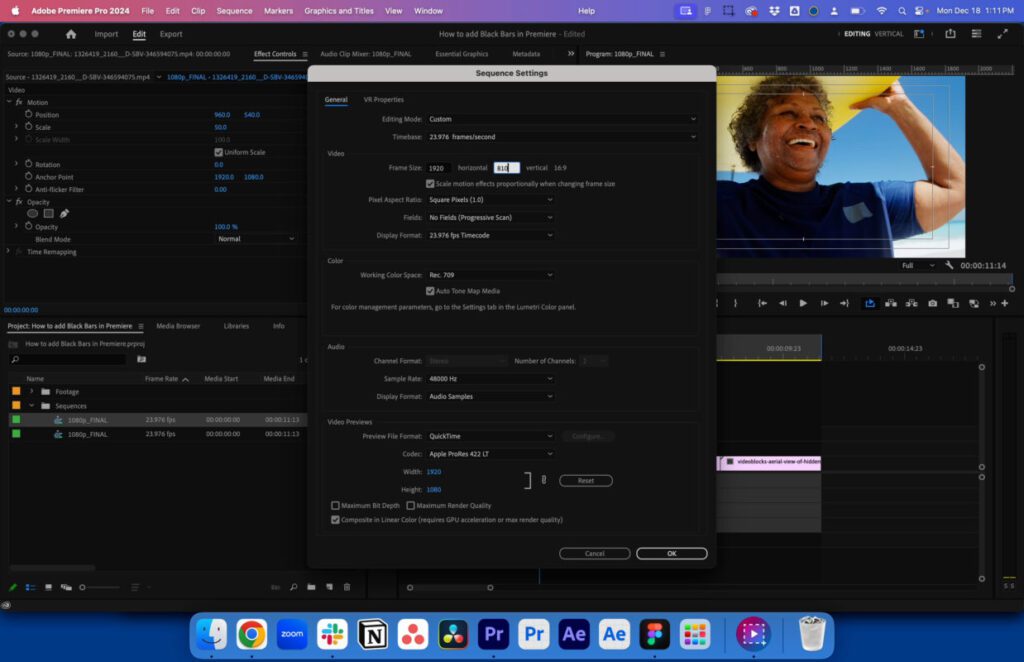
Next a prompt to adjust the resolution according to your chosen aspect ratio should appear. For the 2:35:1 ratio, you can opt for either 1920 by 810 pixels for 1080p HD or 3840 by 1620 pixels for 4K UHD. These settings ensure that your final export includes the black bars.
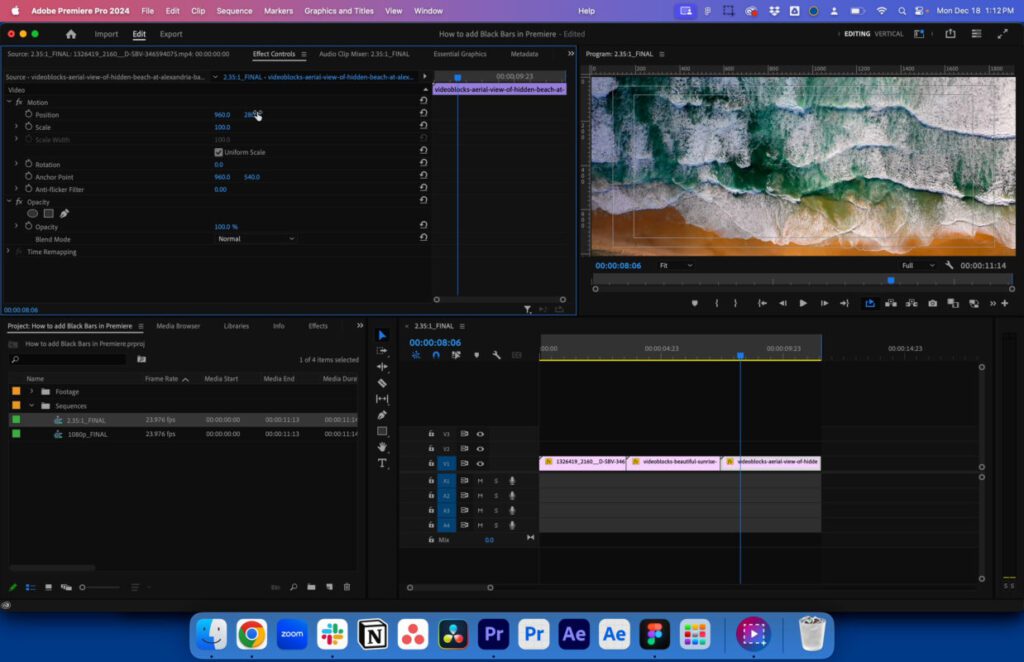
3. Review your project
Once you update the resolution, review your original sequence. Pay close attention to the position of each clip to make sure they align seamlessly within the new resolution. This step helps to maintain the visual integrity of your project.
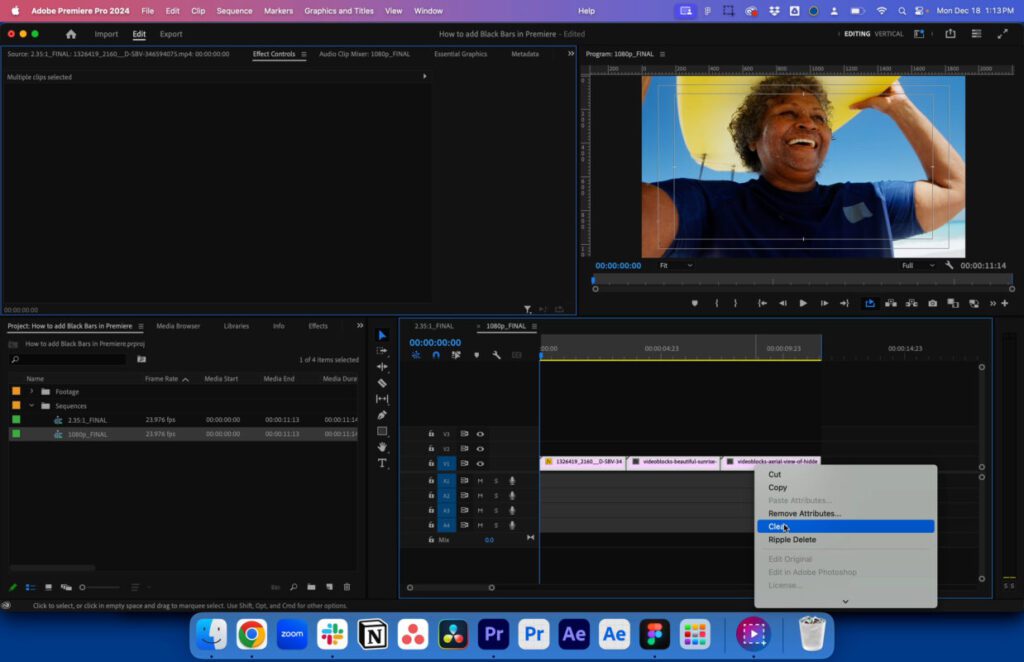
4. Delete the duplicate content
Once you’re happy with how your sequence looks, select your duplicated sequence and delete all of its content. No, you didn’t misread that – delete it all. It might feel counterintuitive, but this is a necessary step in the process of adding cinematic black bars to your project.
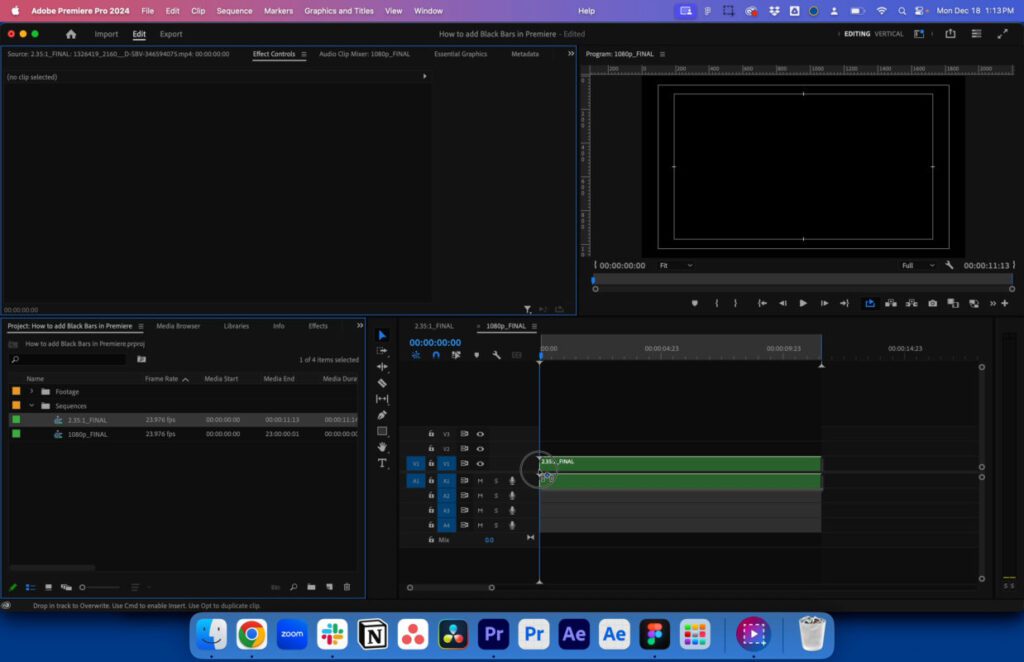
5. Drop in your original sequence
Now it’s time to bring the magic to life. Drag and drop your 2:35:1 sequence into the full-resolution HD or 4K timeline.
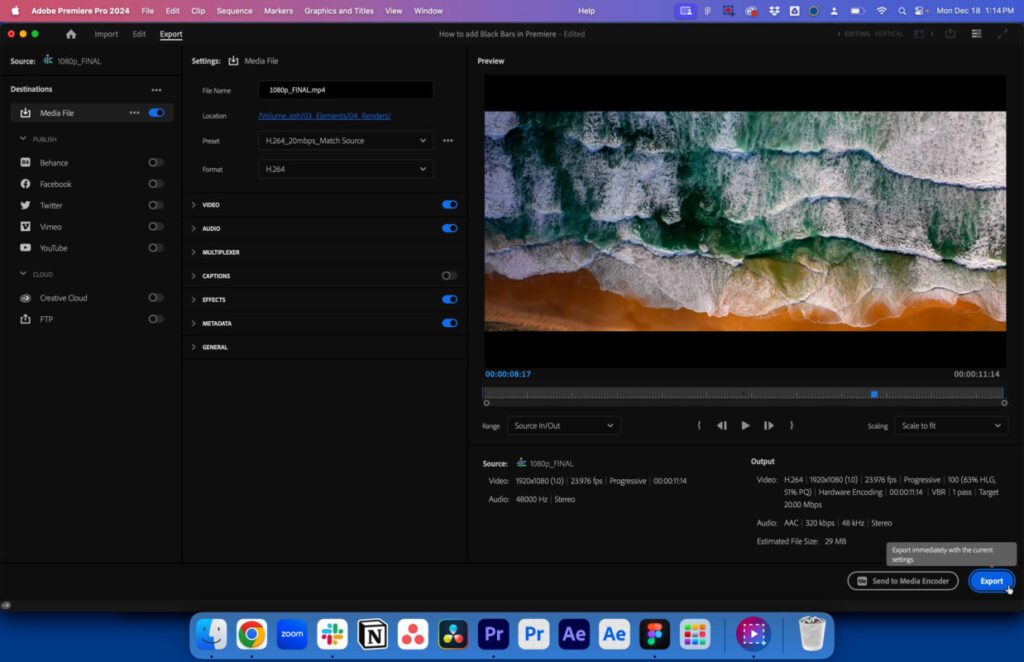
6. Export your full resolution sequence
Finally, once your project is looking how you want it to, it’s time to export your final cut. Navigate to the settings and export the full-resolution sequence.
Go beyond cinematic black bars in Premiere Pro
Adding cinematic black bars isn’t just a technical process but a creative choice that elevates the visual storytelling of your project. By using the nested sequence method in Premiere Pro, you’ll add a professional look that’s ready for the big screen. If you’re looking to learn how to do even more in Premiere Pro, you can check out all of our tutorials here. You can also easily add professional effects and graphics into any of your Premiere Pro projects with Storyblocks’ selection of customizable templates.

